Antelope Canyon Arizona: The Ultimate Guide

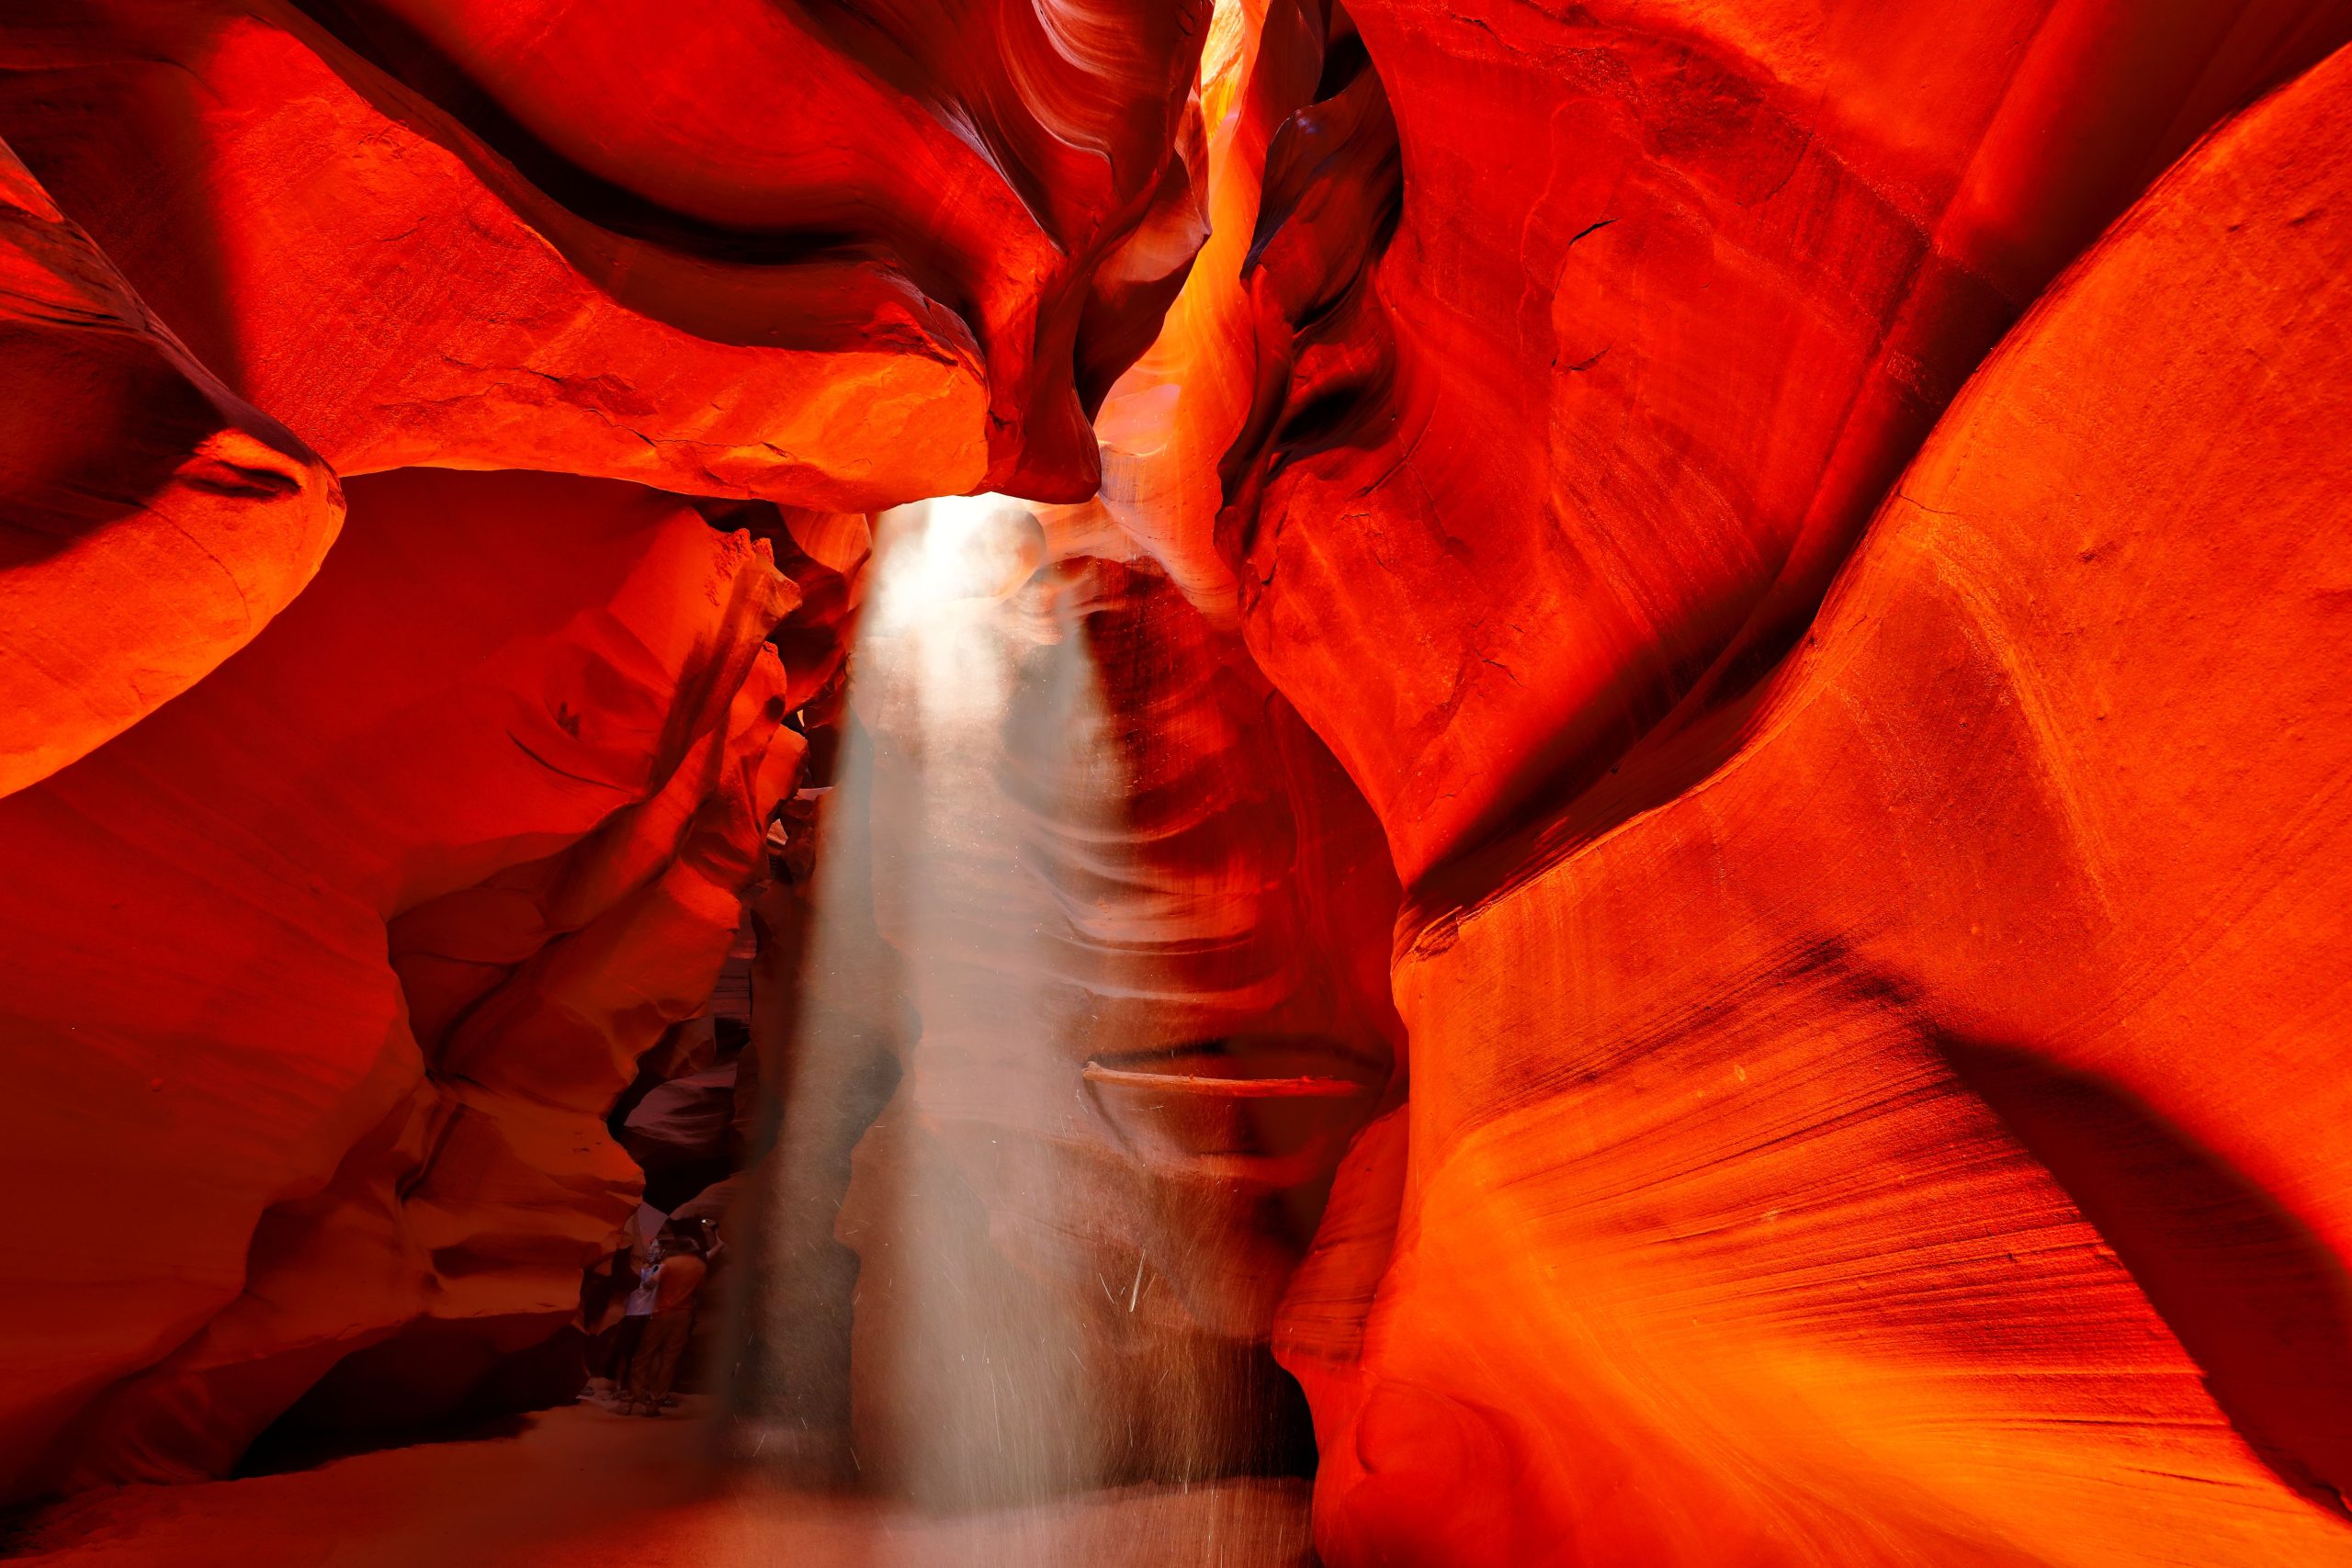
I was pressed against the canyon wall, camera raised, when the light beam hit—that famous god ray that makes every photo look like a painting. But here’s what the Instagram feeds don’t show: my guide had positioned me there 45 minutes before sunrise, and I was cold enough that my fingers barely worked the shutter. The canyon’s magic is real. The logistics that make it accessible? Those matter just as much.
This guide cuts through the hype. You’ll learn the actual difference between Upper and Lower (spoiler: it’s not just about the light), which tour operators won’t waste your time, what gear you genuinely need versus what you don’t, and the Navajo Nation rules that will get you turned away if you miss them. Real costs. Real timing. Real trade-offs. By the end, you’ll know exactly which canyon fits your skill level, your budget, and your schedule—and you won’t spend $400 on a sunrise tour only to discover you hate climbing ladders.
In This Article
- Upper Antelope Canyon vs. Lower Antelope Canyon: Which Delivers Your Shot?
- Travel Guide for Antelope Canyon: Best Time to Visit (Month-by-Month)
- Antelope Canyon Tour Tips: Operators, Booking, and What Actually Matters
- What to Wear to Antelope Canyon: Photography-Specific Wardrobe Advice
- Tour Guide Requirements: Navajo Nation Rules You Can’t Skip
- Photography Rules: What You Can’t Bring (Post-2019 Restrictions)
- CONCLUSION
Upper Antelope Canyon vs. Lower Antelope Canyon: Which Delivers Your Shot?

I was standing on the narrow wooden platform suspended above the Lower Canyon floor when a shaft of light hit the rust-colored wall exactly as my guide predicted—and I realized I’d almost chosen the Upper Canyon instead. That moment crystallized what most first-time visitors get wrong: these aren’t two versions of the same experience. They’re fundamentally different photographic and physical challenges, and which one suits you depends entirely on what you’re willing to endure for the shot.
Upper Antelope Canyon (officially Tsé bighánílíní) is the Instagram darling—those ethereal light beams you’ve seen a thousand times come from here. Access is straightforward: you walk downward on a sandy trail into a slot canyon that opens to sky, so natural light floods in. The “corkscrew” effect of the narrow walls creates those famous god rays, especially between March and October when the sun angle cooperates. The trade-off? It’s crowded—often packed with 50+ people in a narrow space—and it’s genuinely easy. You can do it in sneakers. You’ll get the iconic shot, but so will everyone else on your tour.
Lower Antelope Canyon (Hasdeztwazi) is the photographer’s actual proving ground. You descend 90+ feet via metal ladders bolted into the slot, then navigate a narrow canyon floor with occasional scrambles and tight passages. The light here is subtler, more amber than golden, and the walls are closer—more intimate and sculptural. Fewer people make it down here, partly because it requires real physical effort and partly because the mystique is less Instagram-friendly. Expect 80-120 minutes of actual exertion, and bring gloves; the rock is rough.
Here’s what most guides won’t tell you: Lower Canyon floods unpredictably, and tours close without warning during monsoon season (July-September). Upper Canyon rarely closes, making it more reliable for fixed travel dates. Also, Upper’s “easy access” means you’re paying premium prices ($80–$95) for a 90-minute walk. Lower costs roughly the same but demands significantly more physical commitment. If you’re over 60, have knee issues, or genuinely hate ladders, Upper is your only option—and that’s fine. If you want a less-photographed, more challenging experience, Lower wins.
Travel Guide for Antelope Canyon: Best Time to Visit (Month-by-Month)
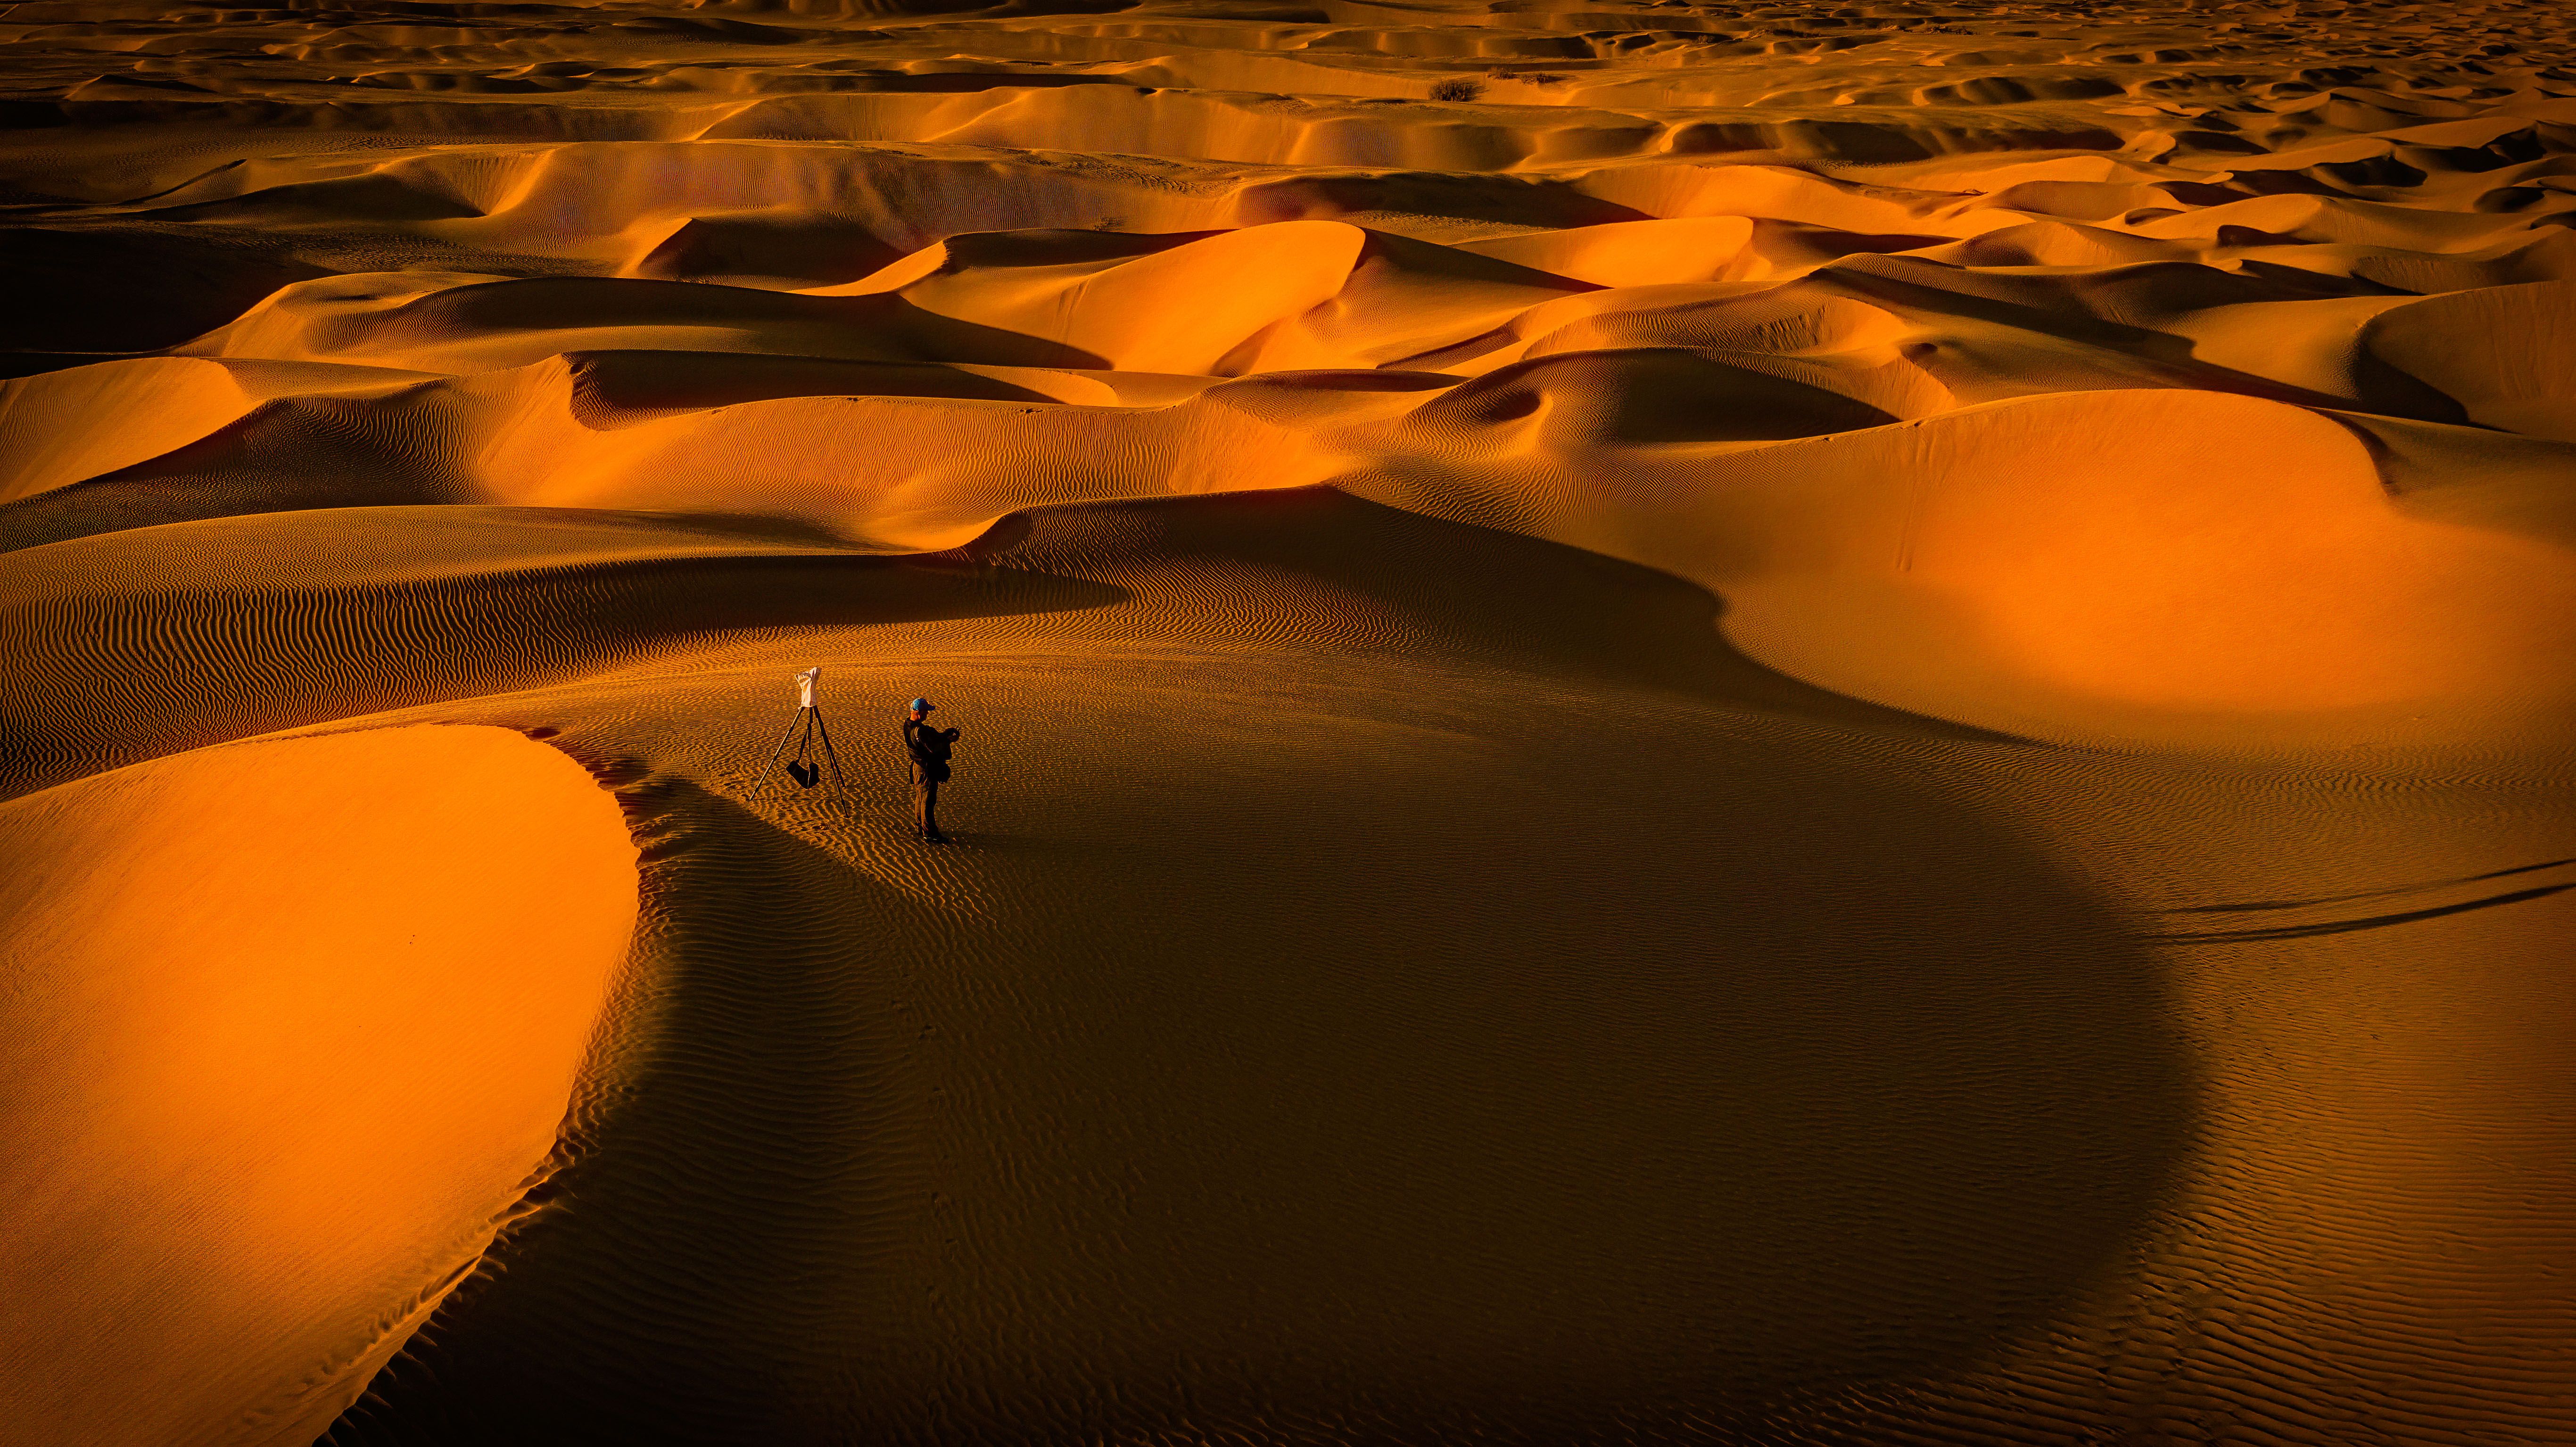
I arrived in Page, Arizona in mid-March at 6 a.m., and the parking lot was already half-full. A tour operator told me I’d just missed the worst of it—February and March draw crowds that rival summer, but without the heat. That’s the first thing most guides won’t tell you: peak season isn’t just summer. It’s stacked across spring and fall, with winter offering a genuine escape if you can tolerate cold mornings.
January through March brings the “light beam season” that makes Upper Antelope Canyon famous. The sun angle creates those cathedral-like shafts of dust and light between roughly 10 a.m. and noon—but only when skies are clear. Temperatures hover between 40–55°F mornings, warming to the mid-60s. Crowds are substantial; book tours 2–3 weeks ahead. April and May stay mild (60–80°F) but beams fade and crowds spike. June through August is brutally hot (100–110°F) with intense UV exposure, though Lower Antelope Canyon stays cooler. Fewer tourists venture here in summer heat, which means shorter waits and better parking—a real trade-off if you can handle the conditions.
September and October are genuinely underrated. Temperatures drop to 70–90°F, light beams begin returning by late September, and crowds thin compared to spring. November and December see fewer visitors, but winter storms can close roads, and midday light is weak. Sunrise and sunset colors intensify, though—worth considering if photography is your goal.
Here’s what actually matters: if you care about light beams, visit February–April or September–October. If you prioritize solitude and lower costs (tours run $60–80 in summer vs. $100+ in peak season), go June–August or November. Budget an extra $30–50 per person for tours booked last-minute during peak months. Navajo Nation observation of holidays (particularly Thanksgiving week and Christmas) also affects tour availability—check ahead. Flash floods are a genuine risk in summer monsoon season (July–September), particularly for Lower Antelope Canyon; several tour operators close during heavy rain warnings.
Antelope Canyon Tour Tips: Operators, Booking, and What Actually Matters
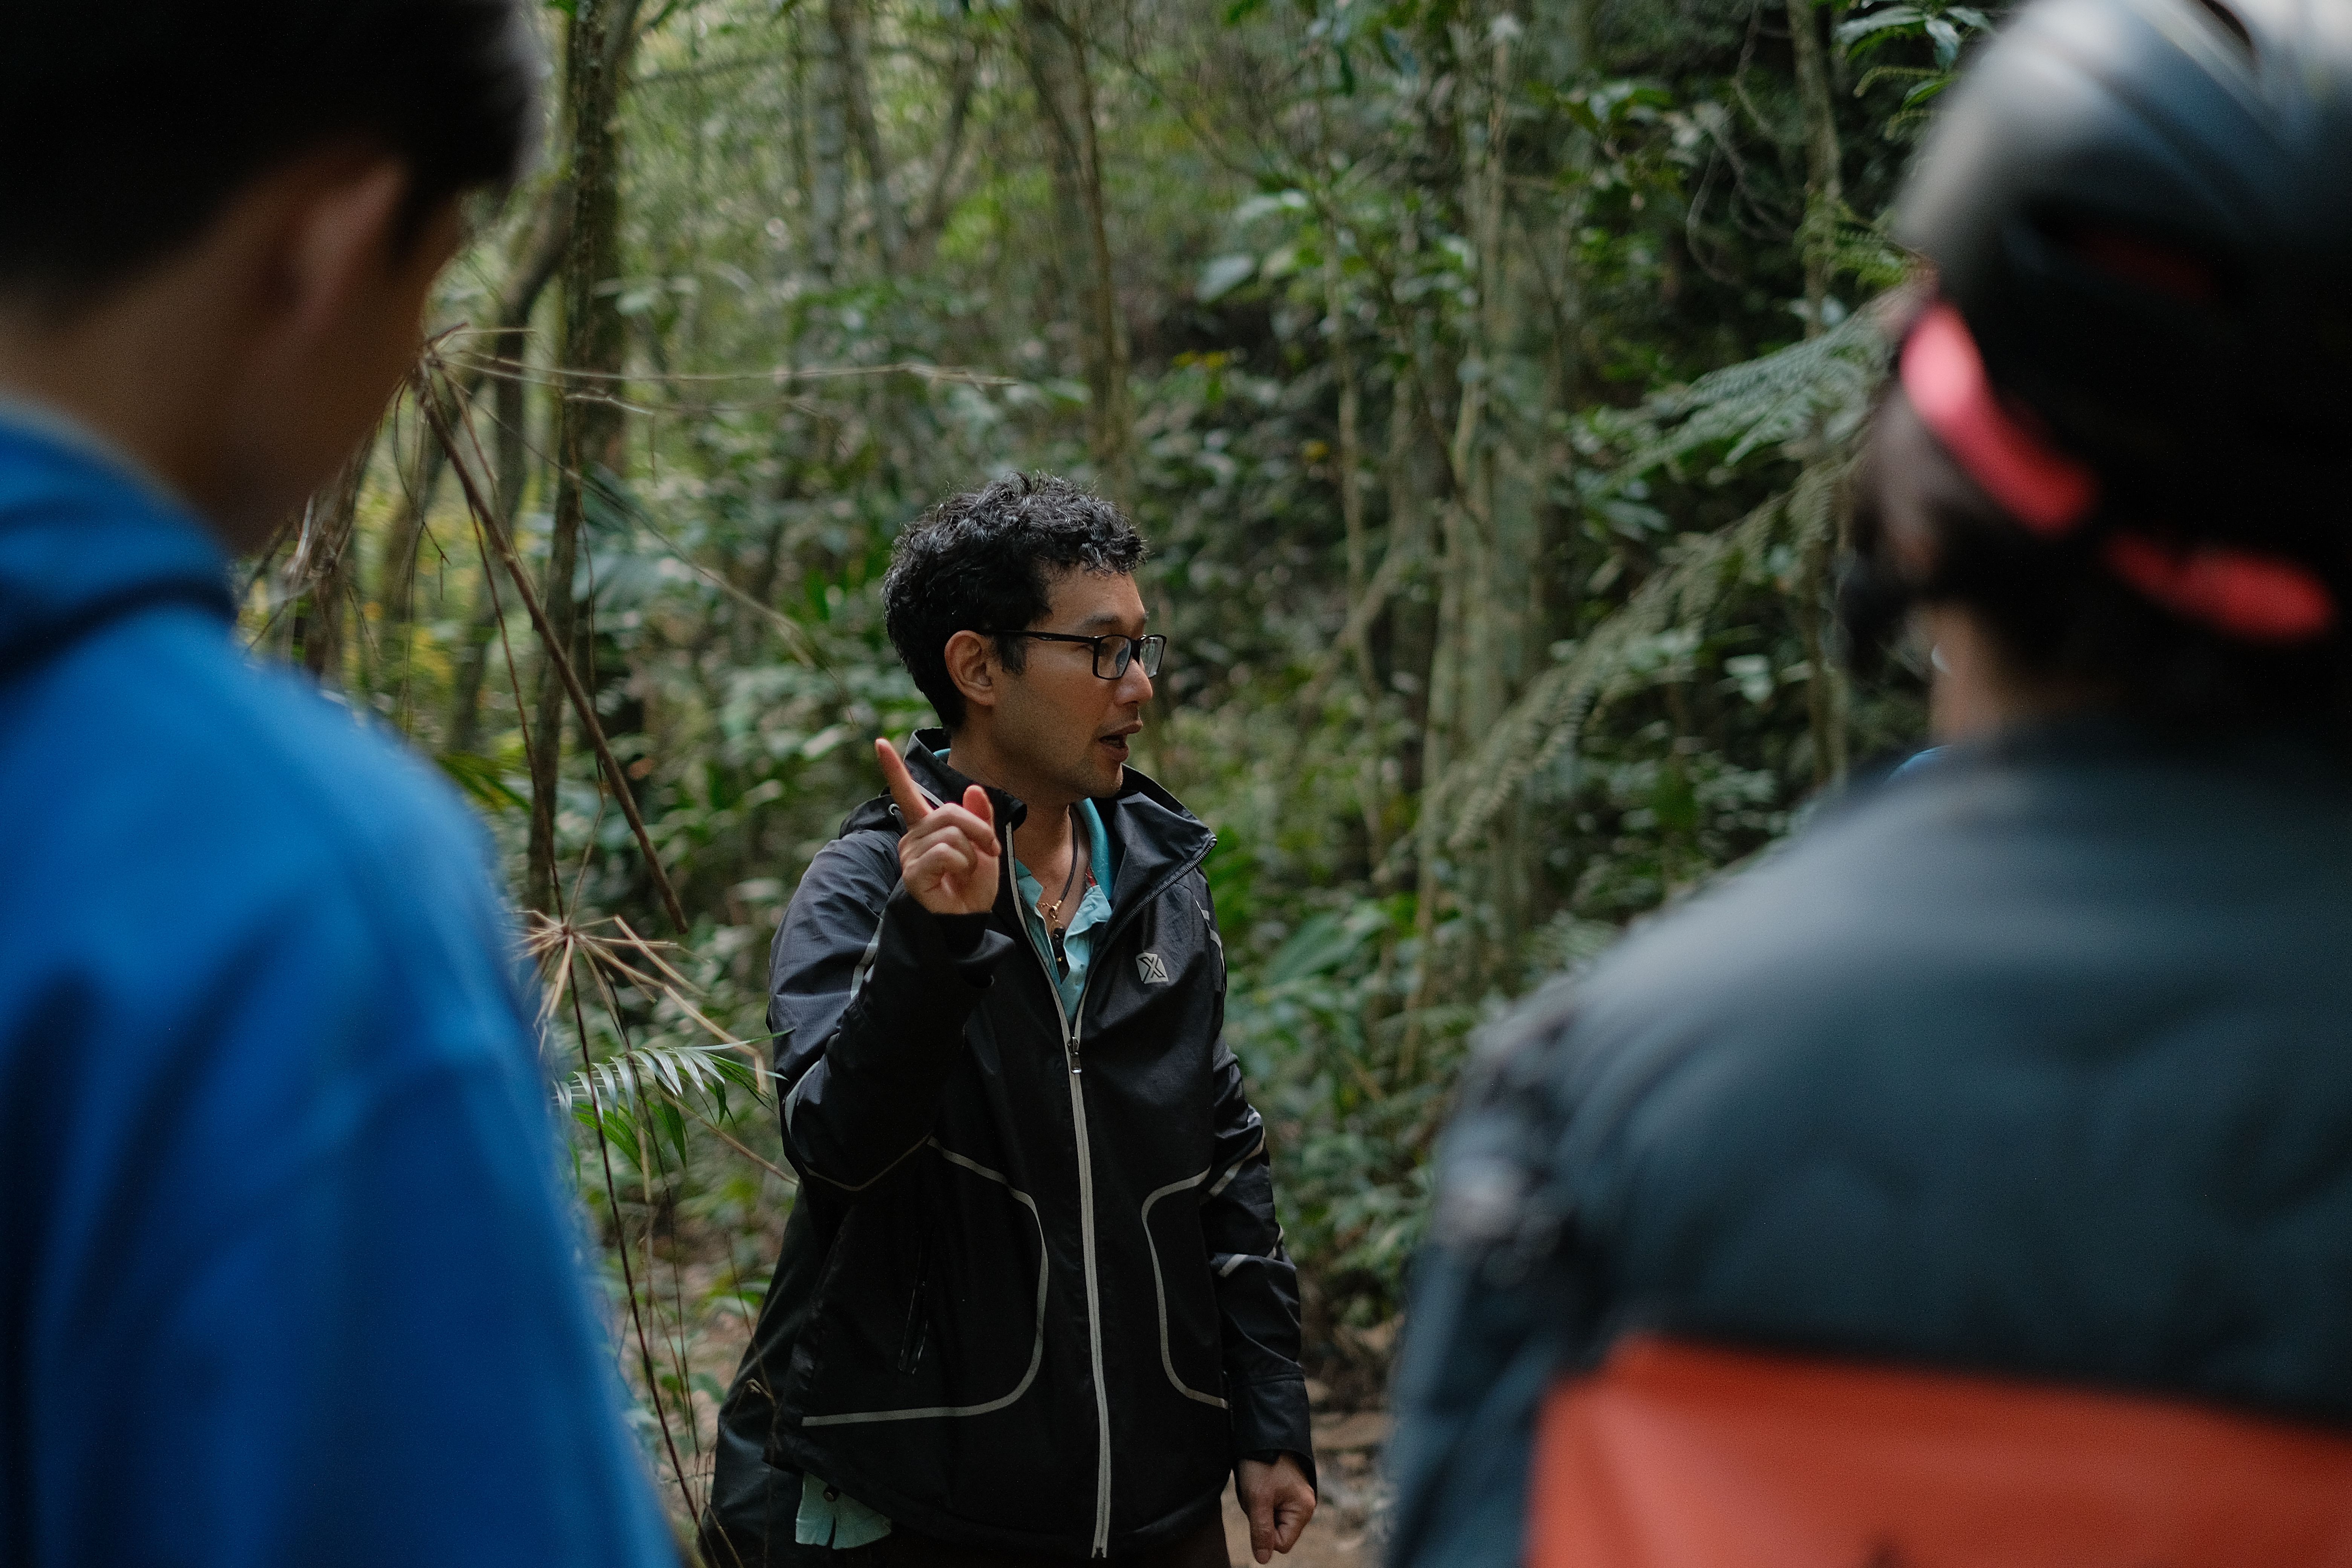
I booked my Upper Antelope Canyon tour at 6 a.m. on the day I wanted to go—a mistake I won’t repeat. By 8 a.m., every operator had sold out their morning slots, and I ended up in a 2 p.m. tour when the light shafts (the whole reason you’re here) are weakest. The lesson: book at least 3–5 days ahead, ideally a week. Tours cost $60–$75 USD per person for Upper Canyon and $85–$110 for Lower Canyon, depending on the operator and group size. Smaller tour companies sometimes offer better rates than the big-name outfits, but they also sell out faster.
Most visitors don’t realize that tour operators are Navajo-owned businesses—this isn’t optional branding, it’s law. The Navajo Nation requires all tours to be led by licensed Navajo guides, and a portion of every ticket goes directly to the tribe. This is worth knowing not just ethically, but practically: your guide will have genuine knowledge of the canyon’s geology and cultural significance that no outside company could replicate. Expect your guide to be knowledgeable, personable, and genuinely invested in your experience.
Here’s what most guides won’t tell you upfront: Lower Canyon involves climbing down a metal staircase (161 steps) and navigating narrow slots where you might brush canyon walls with both shoulders simultaneously. If you have mobility issues or claustrophobia, Upper Canyon is your only realistic option. Upper Canyon is more accessible—mostly flat, paved paths—but it’s also more crowded and less intimate. Group sizes cap at 12–15 people for Upper, sometimes 20+ for Lower.
Book directly through operator websites rather than third-party booking sites; you’ll often find the same price and avoid middleman confusion. Popular operators include Antelope Canyon Tours, Ken’s Tours, and Antelope Canyon Navajo Tours. Read recent reviews specifically mentioning light conditions and group size—a five-star review from someone who went in June might not apply to your December visit. Finally, arrive 15 minutes early. Tours start on time, and parking near the entrance fills up fast. You’ll want those extra minutes to mentally prepare and adjust your camera settings before you step into one of Earth’s most otherworldly spaces.
What to Wear to Antelope Canyon: Photography-Specific Wardrobe Advice
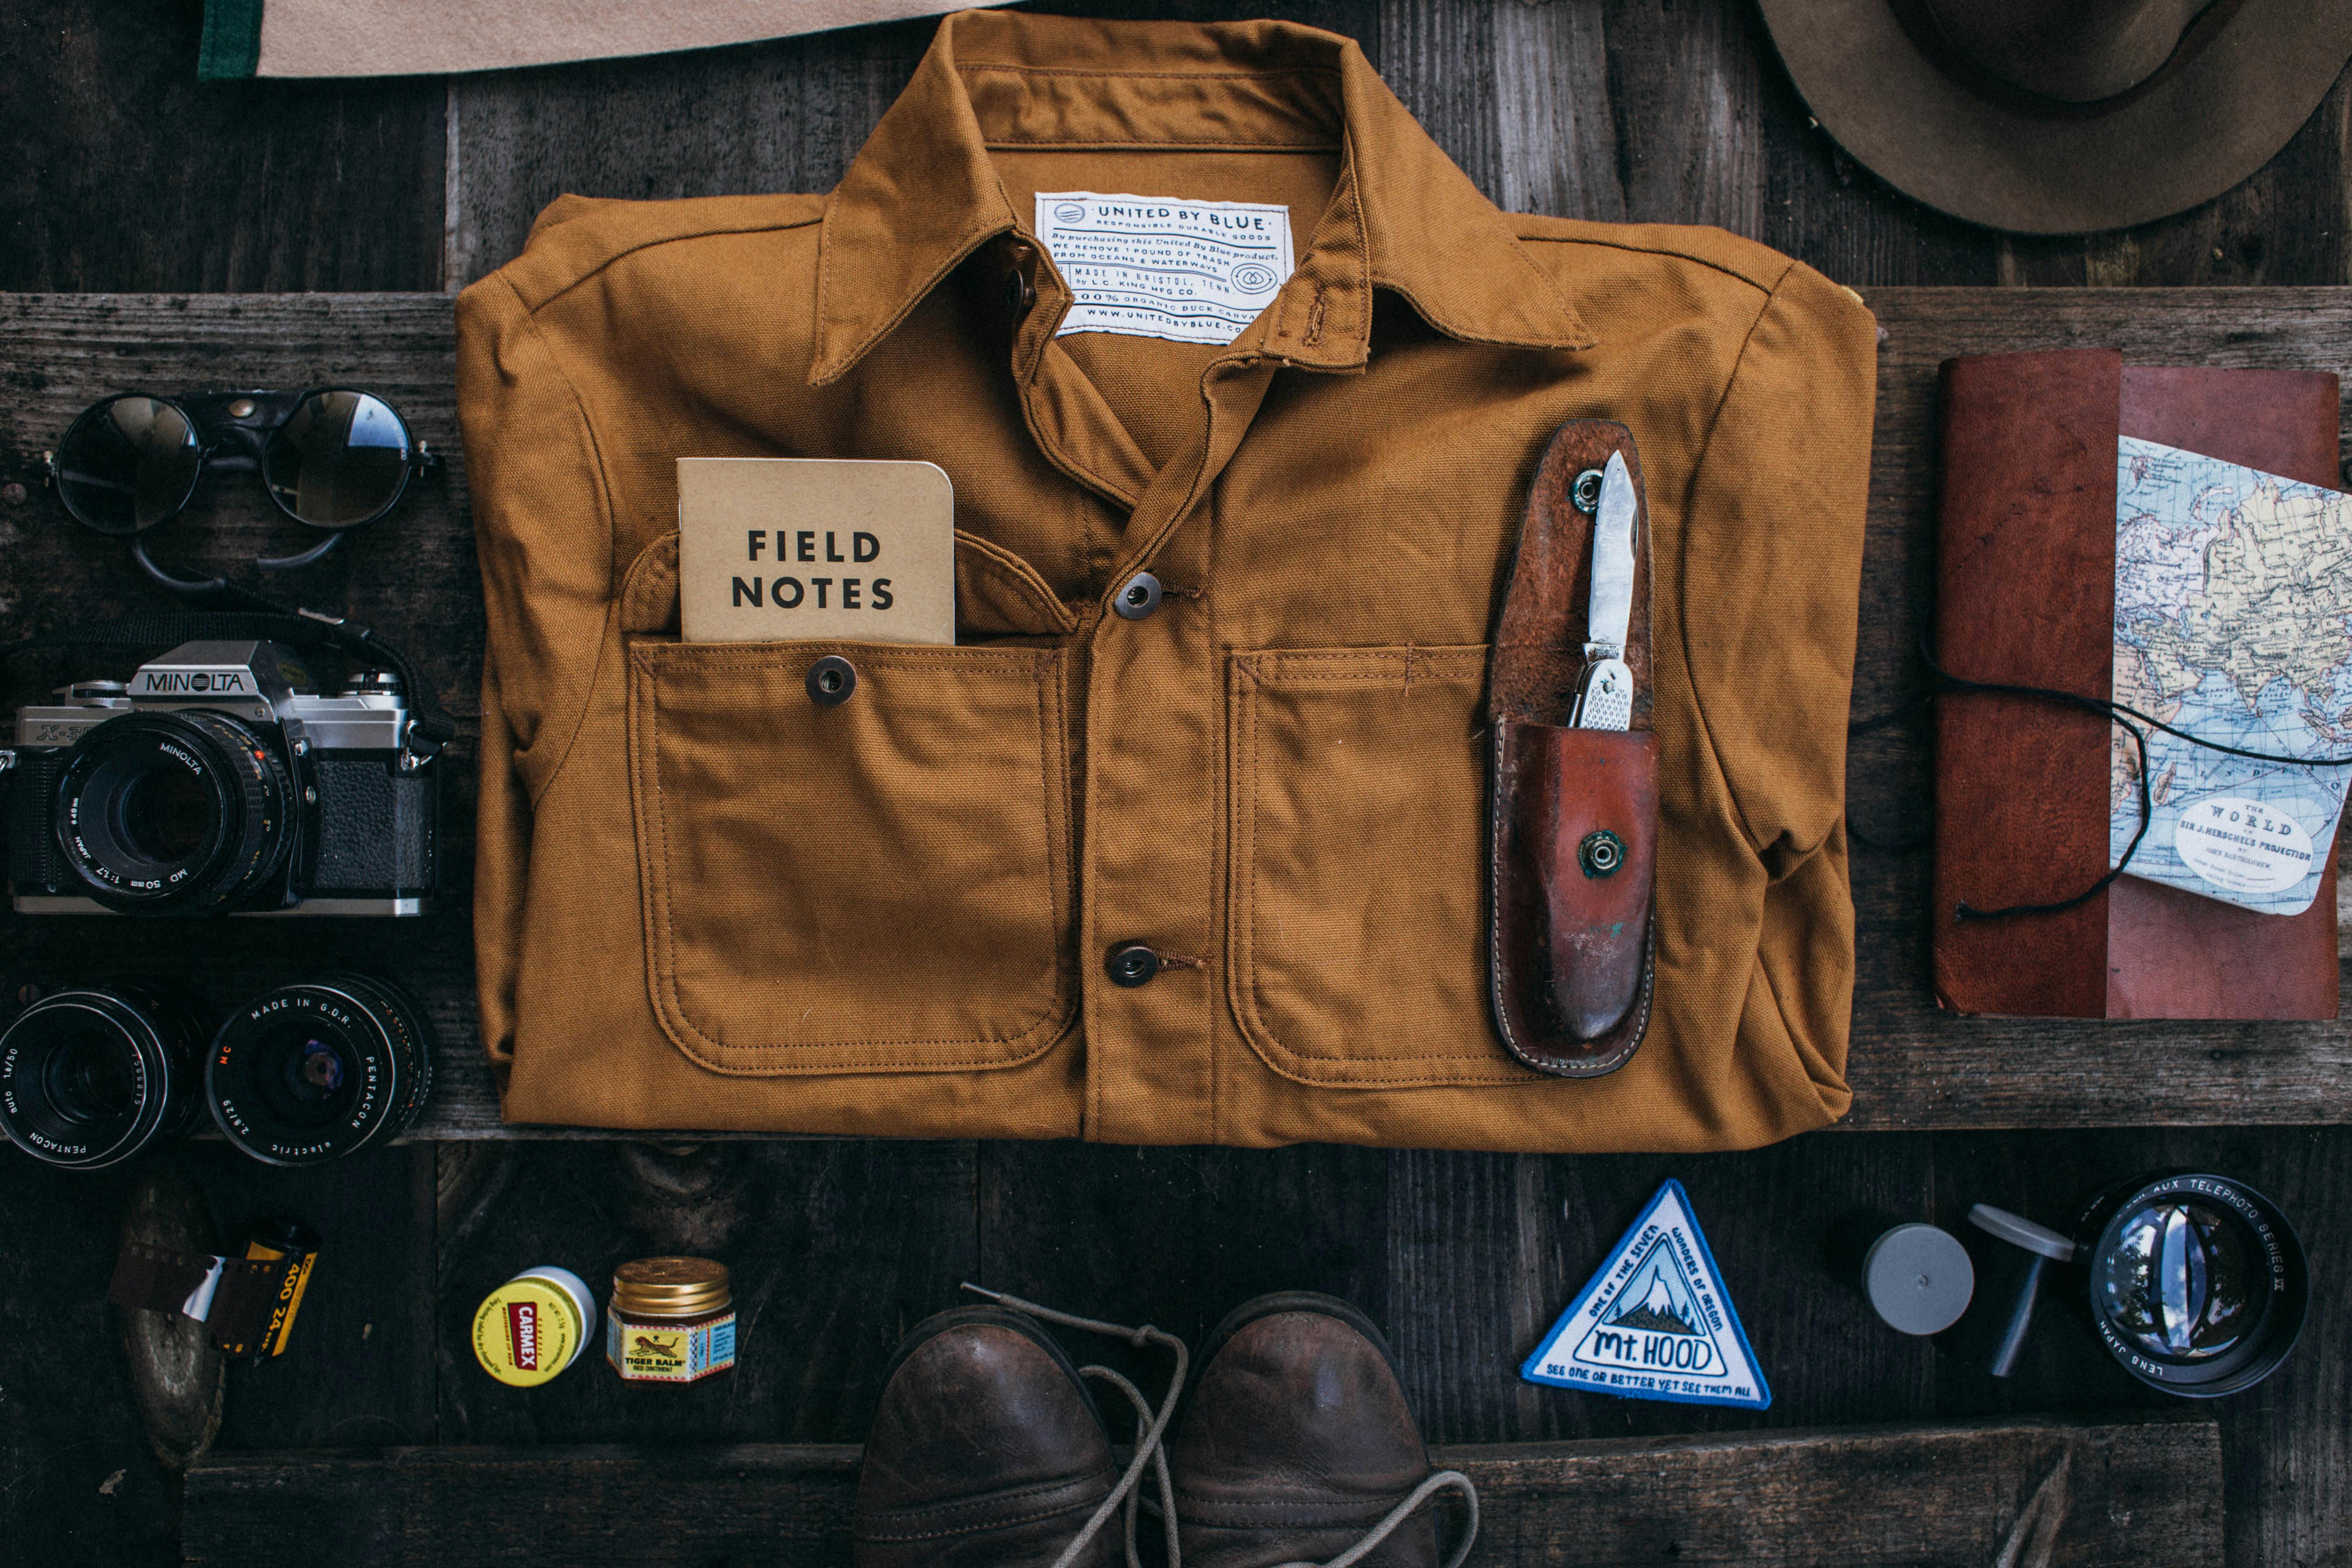
I made it halfway through Upper Antelope Canyon before realizing my black shirt was actively working against me. The canyon’s famous light beams—those ethereal columns of dust and sunlight—bounce off dark clothing and create harsh shadows across your face in photos. By the time I understood why every other photographer looked luminous and I looked like I’d been caught in a cave, I’d already burned through my best shooting window. Wear light colors. Cream, white, pale gray, soft pastels. This isn’t fashion advice; it’s physics.
The canyon floor temperature can swing 15–20°F between Upper and Lower, and neither tells the full story. Upper Antelope sits in direct sun exposure once you’re topside, but the slot itself stays surprisingly cool year-round—around 55–65°F even in July. Lower Antelope is consistently cooler because you’re descending into the earth. Wear layers you can actually remove and tie around your waist; stuffing a fleece into your camera bag defeats the point. A lightweight long-sleeve shirt (UPF-rated if you burn easily) handles both sun protection and the canyon’s temperature swings.
Footwear matters more than most guides acknowledge. The rock is smooth, often slightly damp, and genuinely slippery—not in a dramatic way, but enough that I watched two people nearly twist ankles in regular sneakers. Hiking boots with aggressive tread are overkill for Upper Antelope’s walkway, but they’re justified for Lower Antelope if you’re climbing the metal stairs. Closed-toe shoes are non-negotiable; I’ve seen sandal-wearers turned away at the gate. Avoid anything with white soles that’ll show every red dust smudge in your photos.
One detail that catches people off guard: bring a hat or headband. Not for warmth, but because the canyon creates unexpected wind tunnels, and hair blowing across your lens is maddening when you’re chasing light. A baseball cap works; a wide-brimmed hat photographs better. Skip anything loose that could blow away and require a rescue operation—the Navajo Nation guides aren’t thrilled about retrieving tourist belongings from slot canyon floors.
Tour Guide Requirements: Navajo Nation Rules You Can’t Skip
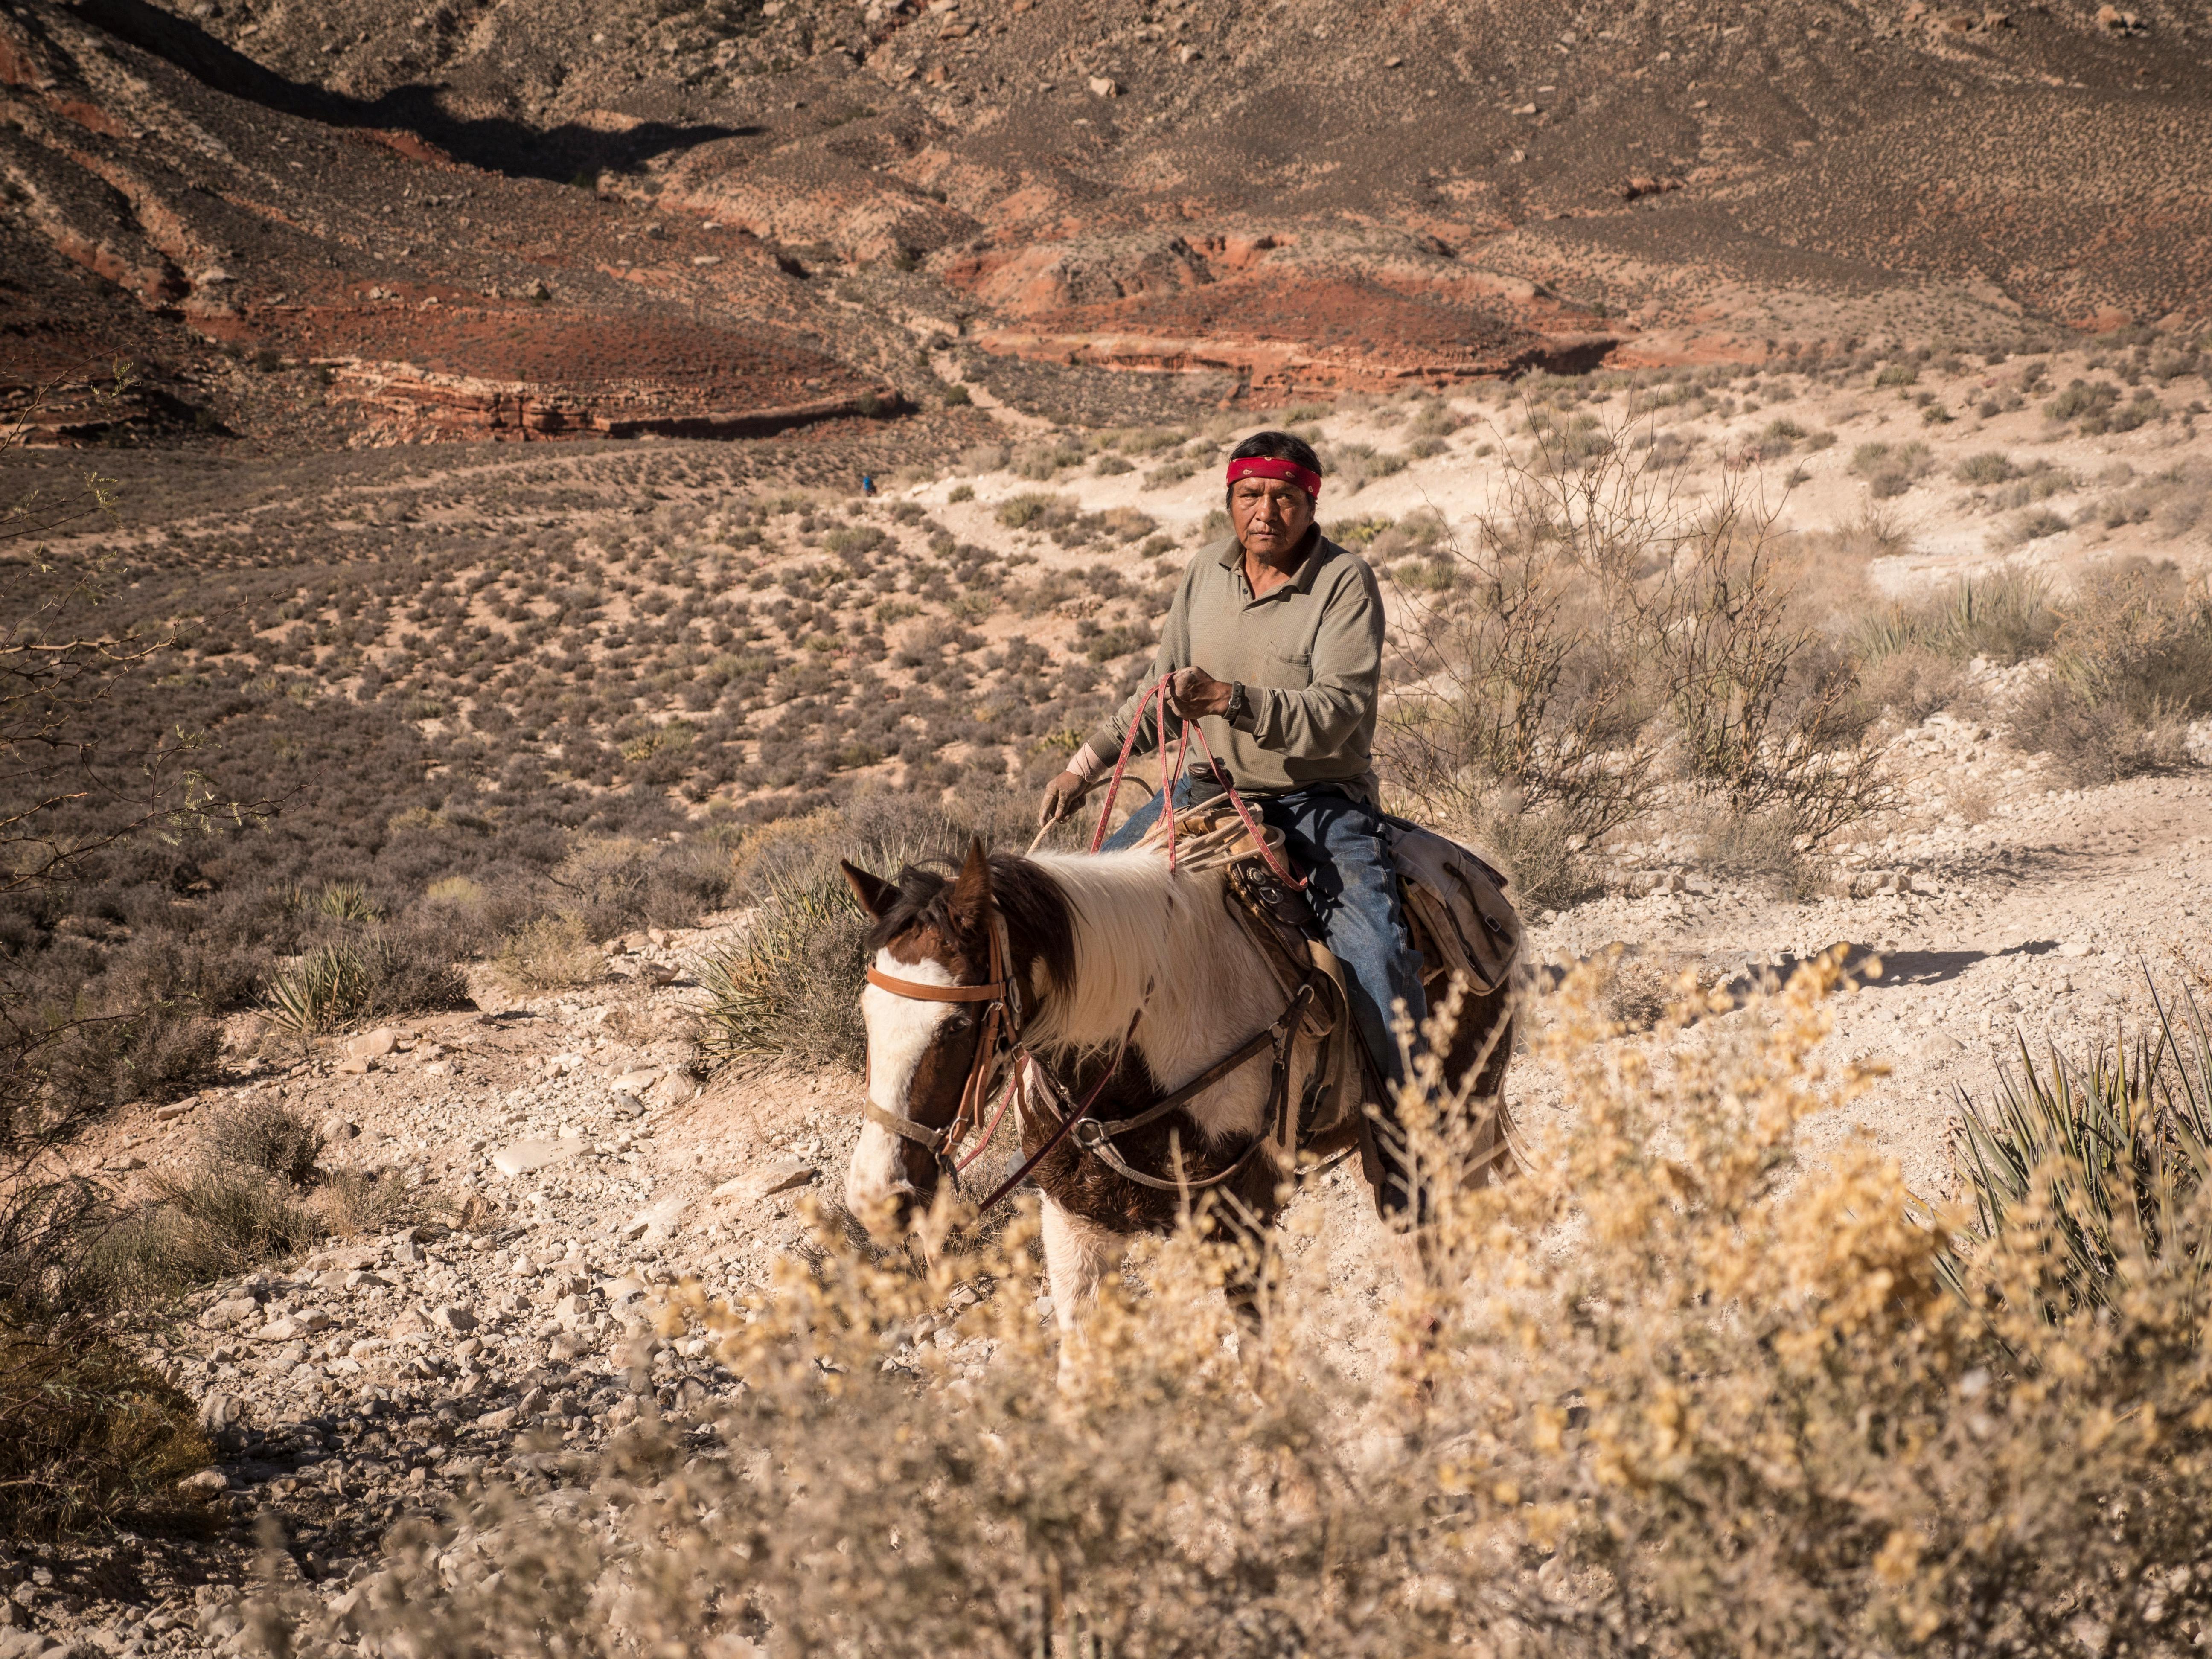
I learned this the hard way: I showed up at Lower Antelope Canyon with a friend who’d booked what he thought was a “self-guided” tour through a third-party website. We were turned away at the gate. Not rudely—the Navajo staff member was patient—but absolutely. No exceptions. Every visitor to Antelope Canyon must be accompanied by a Navajo Nation–licensed tour guide. This isn’t a suggestion or a guideline. It’s a legal requirement, and it exists for three concrete reasons: safety (the canyon floods unpredictably), cultural respect (this is sacred Navajo land), and revenue (tour fees are a primary income source for the community).
You cannot hire your own guide or bring a friend who happens to know the area. You must book through an officially licensed tour operator. Upper Antelope Canyon (Tsé Bighánílíní) and Lower Antelope Canyon (Hazdistazí) each have their own permitted operators, and they’re not interchangeable—a Lower Canyon tour company won’t take you to Upper. Most operators charge $60–$90 USD per person for standard tours, though premium photography tours run $150–$300. Booking directly with operators is usually cheaper than going through third-party platforms, which add 15–25% markups.
Here’s what most guides won’t tell you upfront: tour operators can refuse entry if they deem conditions unsafe—flash flood risk, extreme heat, or overcrowding. I’ve seen tours cancelled in summer afternoons when monsoon clouds rolled in. It’s frustrating, but it’s also why you’re alive to complain about it. Guides are trained in canyon geology and Navajo history, and they’ll genuinely enhance your experience if you engage with them. Ask about the difference between the narrow slot canyons and the wider main passages—the geology explains why light behaves so differently in each space.
One cultural note: many Navajo guides prefer if you ask permission before photographing them directly. It’s a simple courtesy that costs nothing and opens doors to better conversations. Book your tour at least 2–3 weeks ahead during peak season (March–October), especially if you’re targeting specific light conditions. Last-minute walk-ups are possible but often result in afternoon-only slots, which aren’t ideal for photography.
Photography Rules: What You Can’t Bring (Post-2019 Restrictions)
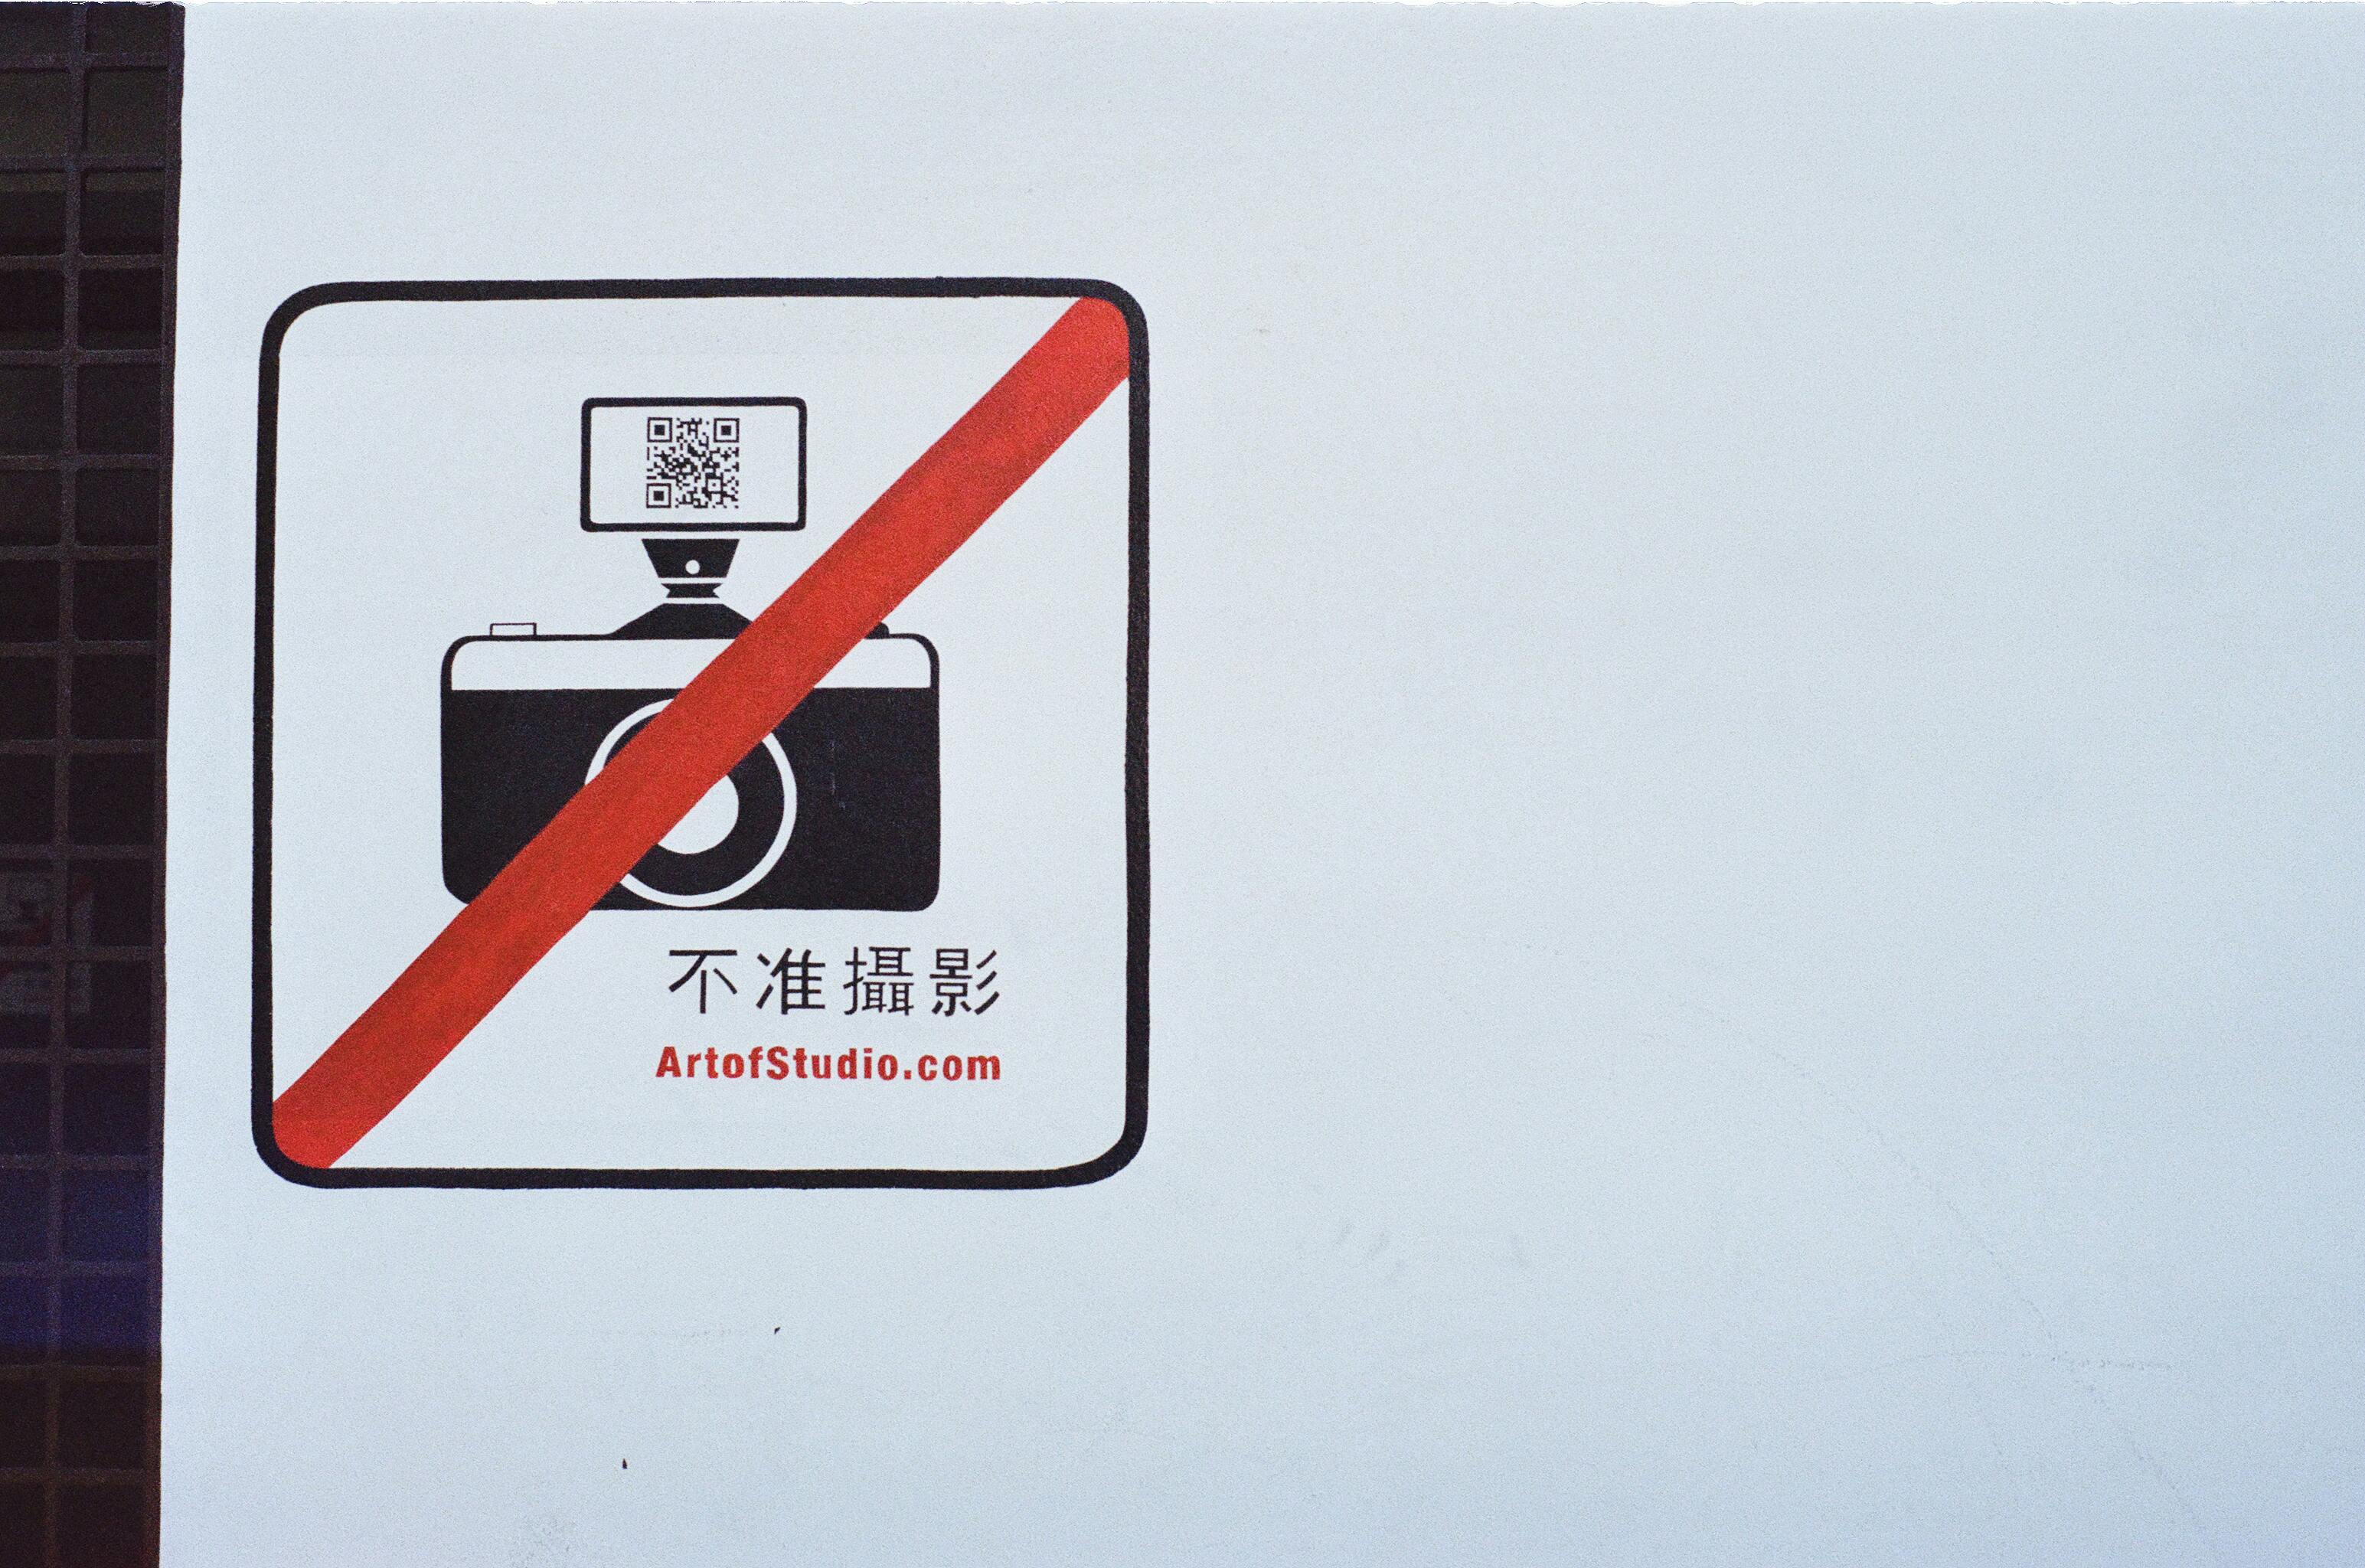
I learned about Antelope Canyon’s equipment restrictions the hard way—showing up with a tripod I’d used at every other canyon in Arizona, only to have my tour guide politely but firmly tell me it wouldn’t be permitted. In 2019, the Navajo Nation tightened rules around professional photography gear after overcrowding and damage incidents, and those restrictions remain in place today. Understanding what’s actually prohibited versus what you can still bring will save you from the frustration I experienced.
The core rule: tripods, monopods, and selfie sticks are banned entirely at both Upper and Lower Antelope Canyon. This applies to everyone, regardless of whether you’re shooting on a smartphone or a professional camera. The reasoning is practical—narrow slot canyons mean tight spaces, and extended equipment creates bottlenecks that slow tours and increase the risk of damage to the canyon walls. Your smartphone camera or handheld DSLR is fine; stabilizing it with external gear is not. Most people adapt quickly by using higher ISO settings and faster shutter speeds, though you’ll sacrifice some image quality in the lower canyon’s dimmer light.
Drones are completely prohibited—this is non-negotiable and enforced by Navajo Nation law. Filters, lenses, and camera bags are permitted. Reflectors and diffusers are technically allowed but practically useless in the narrow confines and will annoy other tourists. One detail most guides won’t mention: if you’re shooting video, be prepared for the rule that you cannot use external microphones or audio recording equipment. The ban is less about equipment size and more about preventing commercial filming operations that require permits.
The honest trade-off: these restrictions exist because previous years saw serious overcrowding and actual damage to the canyon’s walls from careless equipment handling. They’re inconvenient, but they’ve genuinely helped preserve the experience. Before you book, confirm current restrictions with your tour operator—rules occasionally shift, and different operators sometimes interpret them slightly differently. Better to clarify at booking than arrive with gear you can’t use.
CONCLUSION
I stood in Lower Antelope Canyon at 11 a.m. on a June morning, camera in hand, watching the light beams slice through the rust-colored walls like something from another planet. A woman next to me whispered, “Is this real?” It’s the question I’ve heard a hundred times, and the honest answer is: yes, but only if you respect the canyon’s actual demands. Antelope Canyon isn’t a casual Instagram pit stop—it requires a Navajo Nation guide (non-negotiable), careful timing to avoid both crowds and flash-flood risk, and a willingness to accept that your phone photo will never match what your eyes see. The difference between a transcendent visit and a frustrating one comes down to three things: booking with a reputable operator months in advance, understanding the month-by-month trade-offs between light quality and accessibility, and showing up dressed practically rather than fashionably. Upper Canyon offers that ethereal light-beam experience but demands early mornings and narrow slots. Lower Canyon gives you sculptural drama and more flexible timing, but requires climbing stairs and tolerates higher foot traffic. Neither is “better”—they’re different, and the right choice depends on what you actually want to photograph and how much physical exertion you’re willing to invest.
Before you book, spend 20 minutes reading recent reviews on the specific tour operator’s site—not TripAdvisor, where posts age poorly. Check the current Navajo Nation closure dates (they shift annually) and cross-reference with the weather forecast for your chosen month. Then, commit to arriving at least 30 minutes early to your tour, wearing proper footwear and layers you can shed. The canyon doesn’t care about your schedule or your camera gear limitations; it’s been there for 200 million years and will be there long after you leave. Respect that, and it will reward you with something genuinely unforgettable.
Pin this for later