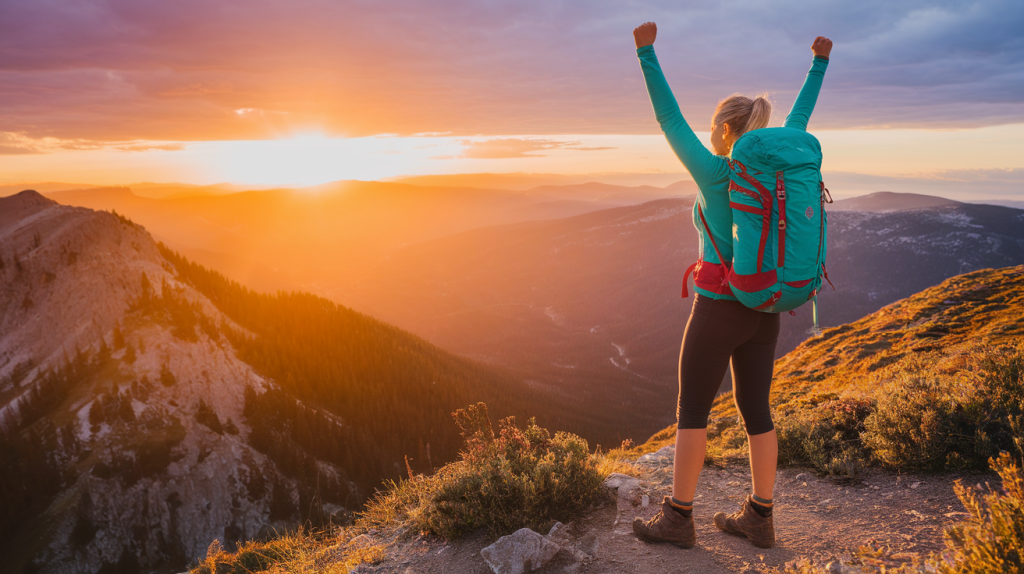
7 Backpacking Tips for Beginners to Start Smart
You’ve scrolled through breathtaking wilderness photos, watched adventurers summit epic peaks, and felt that pull toward the backcountry. But here’s the truth: starting your backpacking journey can feel overwhelming. The gear options seem endless, the safety concerns feel real, and you’re not even sure where to begin.
I get it. Every experienced backpacker once stood exactly where you are now—staring at their first trail map, wondering if they packed the right stuff, and questioning whether they could actually do this.
Here’s what I know after years on the trail: backpacking transforms you. It connects you to nature in ways day hiking never can. You’ll watch sunsets from remote campsites, fall asleep under star-filled skies, and discover strength you didn’t know you had. The challenge is absolutely worth it.
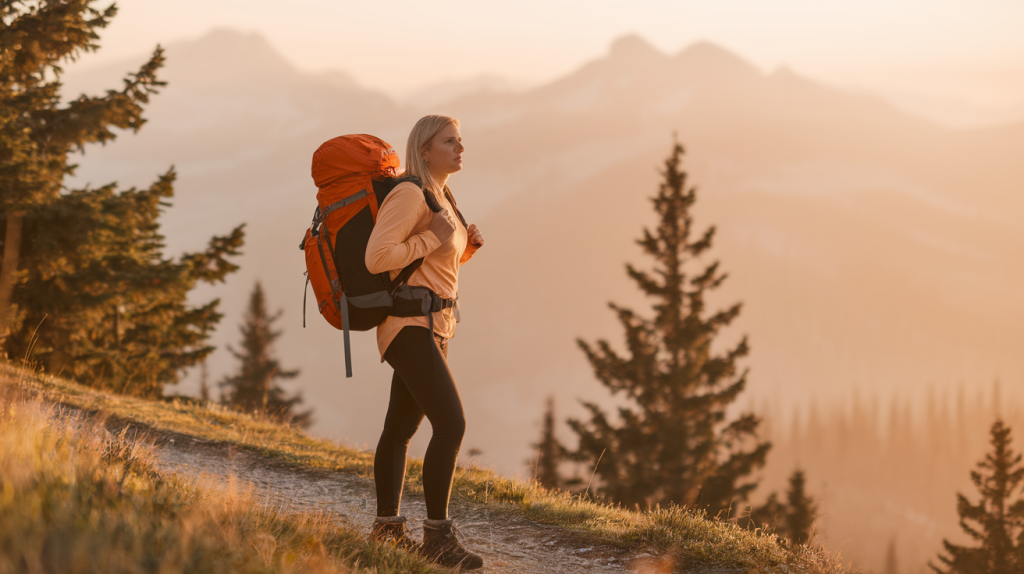
Backpacking differs from day hiking in one crucial way: you’re carrying everything you need to survive and thrive in the wilderness. Your shelter, your bed, your kitchen—it’s all on your back. This self-sufficiency opens doors to stunning landscapes that most people never reach.
This guide delivers seven essential backpacking tips that will transform you from nervous beginner to confident adventurer. You’ll learn exactly what gear matters, how to pack smart, where to start, and how to stay safe. No fluff, no gear snobbery—just practical advice that works.
Ready to answer the call of the wild? Let’s get you trail-ready.
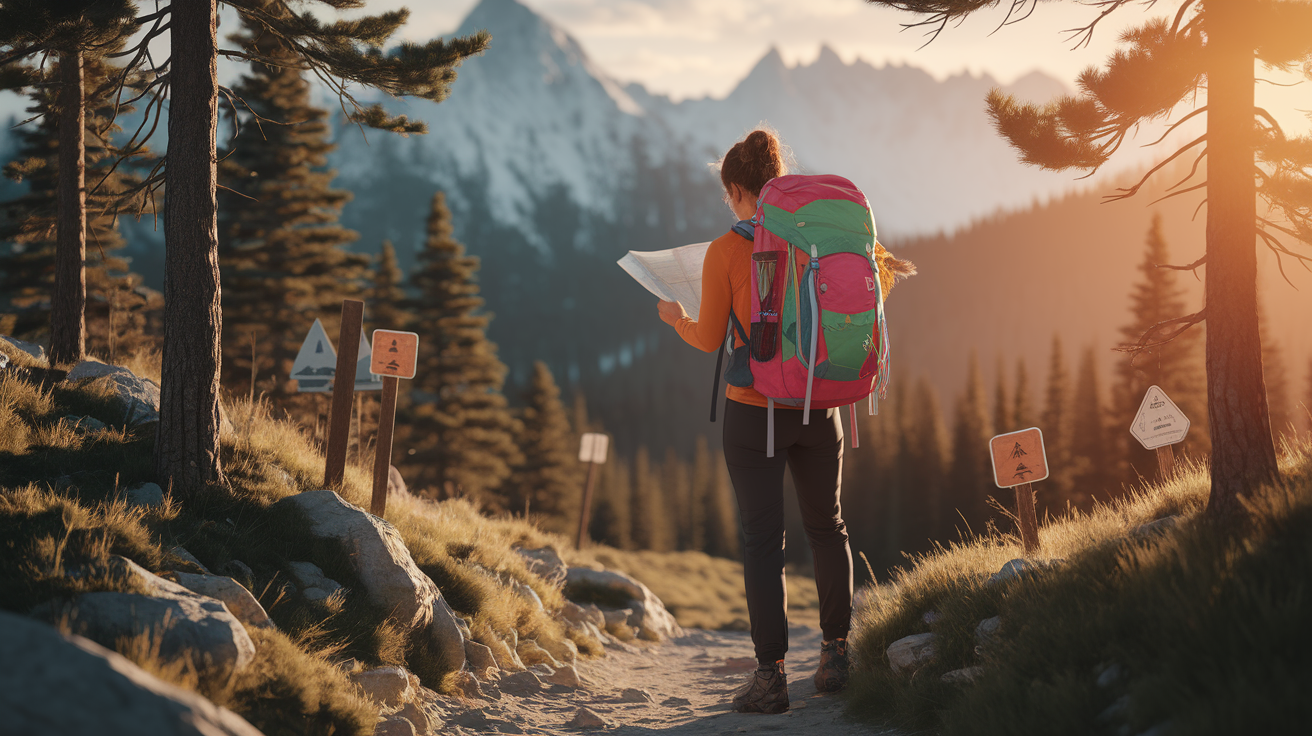
Start Small: Choose Beginner-Friendly Trails for Your First Adventure
Your first backpacking trip shouldn’t be a test of survival—it should build confidence and ignite your passion for the backcountry. This means choosing your destination strategically.
Why Your First Trip Should Be Close to Home and Relatively Easy
Start with trails within two to three hours of your home. This proximity matters for two reasons: if something goes wrong, you’re not far from help, and you won’t waste energy on a long drive when you’re already nervous about the adventure ahead.
Look for well-maintained trails with clear signage and steady foot traffic. Popular doesn’t mean crowded—it means proven. These trails have established campsites, reliable water sources, and other hikers who can offer assistance if needed. That human presence provides a safety net while you’re learning.
Target routes between five and eight miles total distance with minimal elevation gain—ideally under 1,000 feet. This distance lets you experience the full backpacking cycle (hiking in, setting up camp, breaking down camp, hiking out) without destroying your body or your enthusiasm. You’ll finish tired but accomplished, not broken and swearing off backpacking forever.
Scenic matters too. Choose trails with rewarding views, beautiful campsites, or interesting natural features. Your first trip should remind you why you wanted to do this in the first place.
Research Trail Conditions and Know What to Expect
Never hit the trail blind. Apps like AllTrails and Hiking Project deliver real-time trip reports from recent hikers. These reports reveal current trail conditions, water availability, snow levels, and potential hazards that official descriptions miss.
Check weather forecasts for the entire duration of your trip, plus one day on either side. Mountain weather changes fast. What starts as sunny can turn stormy within hours. Understanding the forecast helps you pack appropriate layers and make smart decisions about timing.
Water sources deserve special attention. Some trails have reliable streams and lakes; others require you to carry all your water. Recent trip reports tell you which sources are flowing and which have dried up. This information directly impacts how much weight you’ll carry.
Research permit requirements well in advance. Many popular backpacking destinations require permits that book up months ahead. Nothing kills your first-trip enthusiasm like arriving at the trailhead and getting turned away.
Plan an Overnight Trip Before Committing to Multi-Day Adventures
One night out is the perfect testing ground. You’ll discover which gear works, what you overpacked, and how your body responds to carrying a loaded pack. This “shakedown” trip reveals problems when they’re easy to fix—not three days into a week-long expedition.
Single-night trips also build confidence gradually. You’ll prove to yourself that you can set up camp, cook meals, stay warm, and sleep comfortably in the backcountry. Each success stacks, creating the foundation for bigger adventures.
Start smart, not epic. The wilderness will still be there when you’re ready for longer expeditions. Your first trip should leave you excited to plan the next one.
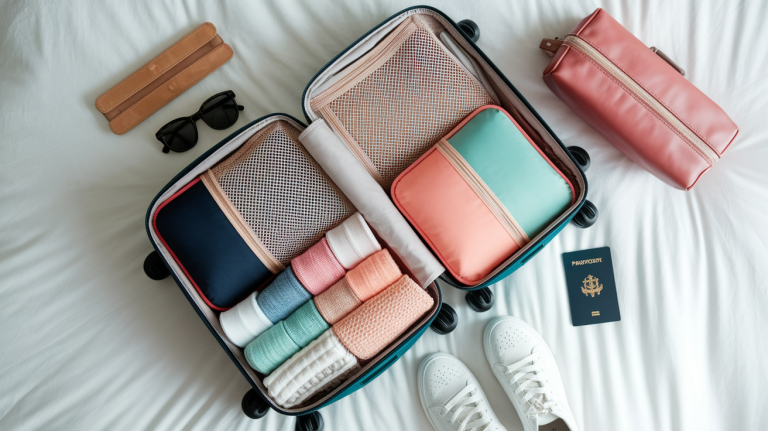
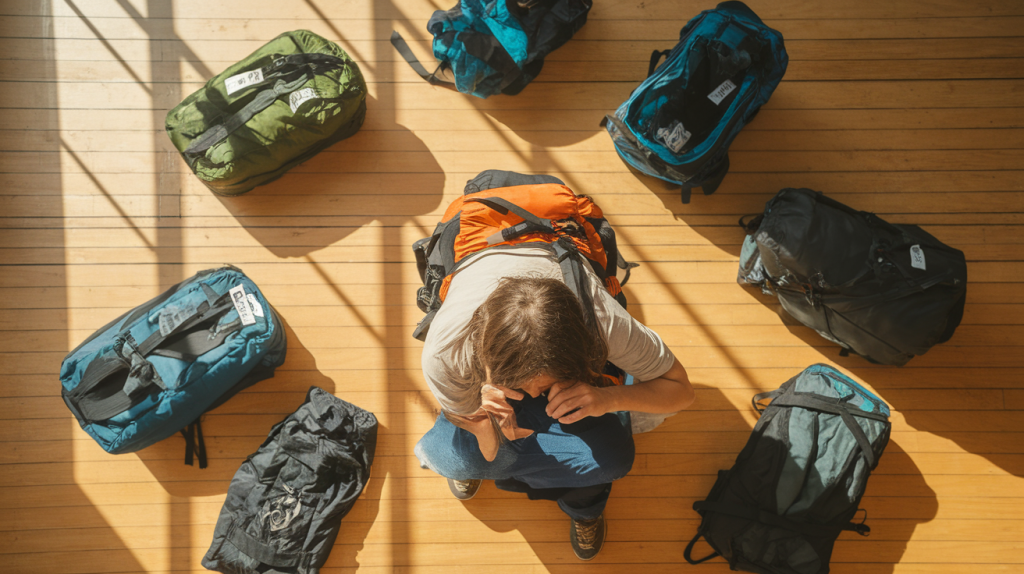
Master the Art of Packing: Essential Gear Without the Excess Weight
Gear overwhelms beginners more than any other aspect of backpacking. The outdoor industry doesn’t help—they’ll happily sell you gadgets you’ll never need. Let’s cut through the noise and focus on what actually matters.
The Big Three: Invest Wisely in Your Shelter, Sleep System, and Backpack
Your tent (or shelter), sleeping bag, and backpack account for the majority of your base weight—the weight of your gear before adding food and water. These three items deserve your attention and budget.
For beginners, I recommend a freestanding two-person tent even if you’re hiking solo. The extra space provides comfort and room for your gear. Look for options in the three to four-pound range that balance weight with durability. Brands like REI, Big Agnes, and MSR offer beginner-friendly tents that won’t break the bank.
Your sleeping bag should match the lowest temperatures you’ll encounter, with a 10-15 degree buffer. A 20-degree bag works for most three-season backpacking. Down insulation packs smaller and weighs less, but synthetic insulation performs better when wet. For your first bag, synthetic makes sense—it’s more forgiving and usually cheaper.
Backpack capacity for overnight trips should range from 50 to 65 liters. Anything smaller won’t fit your gear; anything larger tempts you to overpack. Visit a store for a proper fitting—pack comfort depends on torso length and hip measurements, not your height. A well-fitted 60-liter pack carries easier than a poorly fitted 50-liter pack.
Test everything at home before your trip. Set up your tent in the backyard. Sleep in your sleeping bag. Load your pack and walk around the neighborhood. These dry runs reveal problems when you can still fix them.
Pack Smart: Weight Distribution and Organization Strategies
Keep your base weight under 20 pounds for your first trips. This target keeps you comfortable and reduces injury risk while you build strength and technique.
Weight distribution transforms how your pack carries. Heavy items—your food bag, water, and cooking gear—belong close to your spine and positioned between your shoulder blades. This placement centers the weight over your hips, which carry the load more efficiently than your shoulders.
Pack your sleeping bag and camp clothes at the bottom. These items are light, compressible, and only needed at camp. Your tent can go on top of the sleeping bag or strapped to the outside.
Mid-pack is prime real estate for your food bag, water filter, and cooking gear. Keep frequently needed items in the top pocket: snacks, sunscreen, bug spray, first-aid kit, headlamp, and your rain jacket.
Use stuff sacks or packing cubes to organize gear by category. Color-coding helps—red for first aid, blue for cooking, green for toiletries. When you need something, you’ll know exactly where to look instead of dumping your entire pack on the ground.
What to Bring (and What to Leave Behind)
The Ten Essentials form the backbone of any packing list: navigation tools, sun protection, insulation layers, illumination, first-aid supplies, fire-starting materials, repair kit, extra food, water and treatment, and emergency shelter.
Beginners typically overpack clothes. You don’t need a fresh outfit for each day. Pack one hiking outfit, one sleep outfit, and one complete set of backup clothes in case you get soaked. Add insulation layers (fleece or puffy jacket) and rain protection. That’s it.
Avoid “just in case” items. That camp chair? Leave it. The full-size towel? Bring a bandana instead. The paperback book? Download it to your phone. Every ounce matters when you’re carrying your home on your back.
Embrace multi-use items. Your trekking poles double as tent poles for some shelters. Duct tape wrapped around your poles handles repairs. A bandana works as a towel, pot holder, water pre-filter, and sun protection. Think versatility.
Nail Your Nutrition and Hydration Strategy
Food and water fuel your adventure. Get this wrong, and you’ll struggle. Get it right, and you’ll feel strong from start to finish.
Calculate Your Food and Water Needs
Backpacking burns serious calories—typically 2,500 to 4,500 per day depending on trail difficulty, your body size, and pack weight. Don’t skimp here. Undereating leads to fatigue, poor decision-making, and miserable days on the trail.
Plan your meals and snacks in advance. For a one-night trip, you need dinner, breakfast, and snacks for two days of hiking. Add 20% extra food as a buffer. Running out of food creates unnecessary stress.
Water capacity should range from two to three liters. The key is knowing your water sources. If streams and lakes appear every few miles, you’ll carry less water. If your next water source is eight miles away, you’ll need to carry more. This is where trail research pays off.
Never carry excess water just to be safe. Water weighs 2.2 pounds per liter. Carrying an unnecessary extra liter means hauling an extra five pounds for no reason. Trust your research and treatment method.
Choose Beginner-Friendly Backpacking Meals
Your first trip isn’t the time to experiment with elaborate camp cooking. Keep meals simple so you can focus on other aspects of the experience.
No-cook options eliminate the need for stove fuel and reduce weight. Build meals around tortillas, nut butter, cheese, summer sausage, dried fruit, nuts, and jerky. These foods pack well, don’t require refrigeration, and deliver solid nutrition.
If you want hot meals, start with easy options. Instant oatmeal with dried fruit and nuts makes a satisfying breakfast. Add hot water to ramen and boost it with jerky or tuna packets. Dehydrated camping meals from brands like Mountain House or Backpacker’s Pantry work perfectly for beginners—just add boiling water and wait.
Trail snacks keep your energy steady between meals. Pack trail mix, energy bars, chocolate, cheese, crackers, and dried fruit. Eat small amounts frequently rather than waiting until you’re starving. Your body processes food better when you graze throughout the day.
Avoid foods that require complex preparation or create lots of trash. Save the gourmet backcountry cooking for future trips when you’re more comfortable with camp systems.
Water Treatment Methods Every Beginner Should Know
Never drink untreated water from streams, lakes, or springs. Even crystal-clear mountain water can harbor harmful microorganisms that will ruin your trip (and possibly send you to the hospital).
Three main treatment methods exist: filtering, chemical treatment, and boiling. Each has advantages.
Squeeze filters like the Sawyer Squeeze or LifeStraw work great for beginners. Fill a bag with water, screw on the filter, and squeeze clean water into your bottle. These filters are lightweight, effective, and require no waiting time.
Chemical treatment tablets (Aquatabs, Aquamira) are ultralight backup options. Drop a tablet in your water bottle and wait 30 minutes. The downside is the wait time and slight chemical taste.
Boiling water for one minute kills all pathogens. This method works but requires fuel and time. It makes sense for water you’re already heating for meals or coffee.
For your first trip, I recommend a squeeze filter as your primary method and chemical tablets as backup. This combination covers you if your filter fails.
Identify safe water sources by looking for moving water away from trails and campsites. Avoid stagnant pools, water downstream from livestock, and sources near heavy human use. When in doubt, walk upstream to find cleaner water.
Prioritize Safety and Leave No Trace Principles
Freedom and responsibility go hand in hand in the backcountry. You’re responsible for your safety and for protecting the wild places you explore.
Essential Safety Practices for Backcountry Camping
Always tell someone your detailed itinerary before you leave. Include your trailhead, planned campsites, route, and expected return time. If something goes wrong, this information helps rescuers find you quickly.
Wildlife safety starts with proper food storage. Use bear canisters in areas where required, or hang your food in a bear bag at least 12 feet off the ground and 6 feet from tree trunks. Never keep food, toiletries, or scented items in your tent. Bears aren’t your only concern—rodents, raccoons, and other critters will chew through your gear to reach food.
If you encounter wildlife, stay calm and give animals space. Never approach or feed wild animals. Make noise while hiking to avoid surprising bears. Carry bear spray in bear country and know how to use it before you need it.
Recognize signs of common emergencies. Dehydration symptoms include dark urine, dizziness, and headaches—drink more water and electrolytes. Hypothermia starts with uncontrollable shivering and confusion—add layers, get dry, and warm up gradually. Heat exhaustion brings heavy sweating, weakness, and nausea—rest in shade, drink water, and cool down.
Pack a basic first-aid kit and actually know how to use it. Take a wilderness first-aid course before your first trip. These courses teach you how to handle emergencies when you’re hours from help.
Leave No Trace: Protect the Wild Places You Explore
The seven Leave No Trace principles guide responsible backcountry behavior. Following these principles ensures wild places stay wild for future adventurers.
Pack out everything you pack in—yes, including toilet paper, food wrappers, and that orange peel you thought would decompose. If you carried it in full, you can carry it out empty. Bring extra trash bags for this purpose.
Camp at least 200 feet from water sources to protect riparian areas and water quality. Look for established campsites with hardened ground rather than creating new sites. Camp on durable surfaces like rock, gravel, or dry grass—never on fragile vegetation.
Human waste disposal requires proper technique. Dig a cathole 6-8 inches deep and at least 200 feet from water, trails, and camp. After use, bury the waste and disguise the site. Pack out toilet paper in a sealed bag—don’t bury or burn it.
Respect wildlife by observing from a distance. Never feed animals or leave food scraps. Human food harms wildlife health and teaches animals to associate humans with food, creating dangerous situations.
Keep noise levels reasonable. Others come to the backcountry for solitude and natural sounds. Save the loud music and rowdy behavior for car camping.
Navigate Confidently Even on Marked Trails
Bring physical maps and a compass even on well-marked trails. GPS devices and phones die, get damaged, or lose signal. Paper maps work regardless of battery life or satellite coverage.
Download offline maps before you lose cell service. Apps like AllTrails, Gaia GPS, and CalTopo allow offline access to detailed trail maps. This backup navigation ensures you can find your way even without cell coverage.
Pay attention to trail markers, blazes, and cairns. If you haven’t seen a marker in a while, stop and verify your location before continuing. It’s easier to backtrack 100 yards than to realize you’re lost two miles later.
Trust your instincts. If conditions feel unsafe—weather turning severe, trail becoming dangerous, or you’re feeling unwell—turn around. The mountain will be there another day. Summit fever has led to countless preventable accidents.
Your First Backpacking Adventure Awaits
You now have everything you need to start your backpacking journey smart. Let’s recap the seven essential tips that will transform you from nervous beginner to confident backcountry adventurer.
Start small by choosing beginner-friendly trails close to home with manageable distances and minimal elevation gain. Master the art of packing by investing in quality core gear, distributing weight properly, and avoiding the overpacking trap. Nail your nutrition and hydration strategy by planning adequate calories, choosing simple meals, and treating all water sources. Prioritize safety through proper planning, wildlife awareness, and emergency preparedness. Protect wild places by following Leave No Trace principles in everything you do.
Every expert backpacker started exactly where you are now. They felt the same nervousness, asked the same questions, and wondered if they could actually do this. Then they took that first step onto the trail, and everything changed.
Your adventure awaits, and it’s more accessible than you think. The breathtaking views from remote campsites, the profound silence of wilderness nights, the satisfaction of carrying everything you need on your back—these experiences will transform how you see yourself and the natural world.
Pick a date right now. Block it on your calendar. Commit to your first overnight backpacking trip. Research a beginner-friendly trail within a few hours of home. Start gathering gear, planning meals, and building excitement.
The trail is calling. Stunning landscapes, unforgettable sunrises, and epic adventures are waiting in the backcountry. You have the knowledge. You have the tips. Now you need to take action.
Start smart, stay safe, and discover the wild places that most people only dream about. Your backpacking journey begins with a single step—will you take it?
The wilderness is waiting. See you on the trail.