Solo Backpacking Guide 2026: Start Smart and Safe
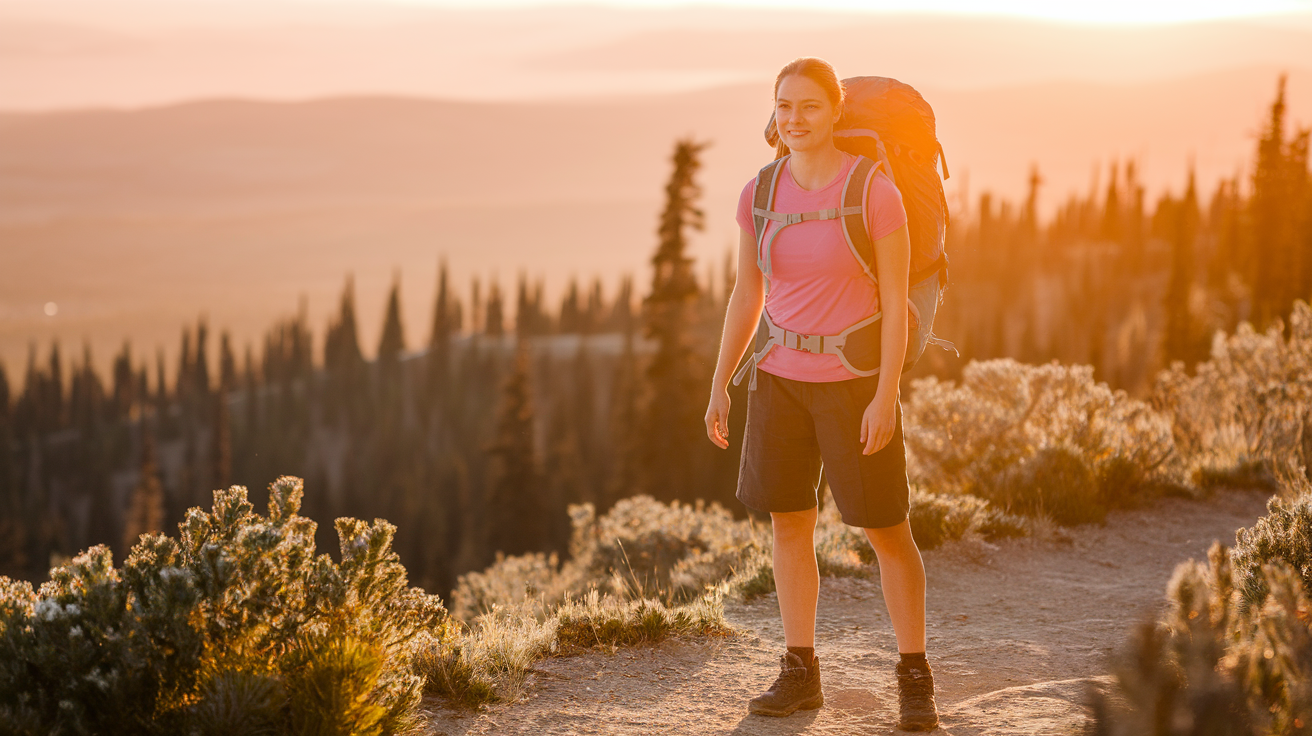
You’re standing at a trailhead at sunrise, pack on your back, nothing but wilderness ahead and complete freedom to move at your own pace.
No compromises on where to camp, when to stop for lunch, or which side trail to explore. This is solo backpacking—and it’s transforming how thousands of adventurers experience the outdoors in 2026.
Solo backpacking offers something group trips simply can’t match: the ultimate freedom to discover both the wilderness and yourself. When you’re alone on the trail, every decision is yours.
You learn to trust your instincts, solve problems independently, and tap into a quiet confidence that carries over into every aspect of your life.
The research backs this up—solo travelers consistently report higher levels of personal growth and self-discovery compared to group adventures.
But let’s be honest about the elephant in the room: going alone can feel intimidating. What if you get lost? What about wildlife? Can you really handle everything by yourself?
These fears are completely normal, and this guide directly addresses each one with proven strategies and practical solutions.
This comprehensive guide covers everything you need for your first solo backpacking adventure: essential pre-trip planning to set you up for success, the exact gear you need (and what you can skip), safety strategies that work in real-world conditions, and confidence-building techniques that turn nervous beginners into capable solo adventurers.
By the time you finish reading, you’ll have a clear action plan to make your solo backpacking dream a reality—smart, safe, and absolutely achievable.
Essential Pre-Trip Planning: Building Your Solo Adventure Foundation
Choosing Your First Solo Backpacking Destination
Your first solo trip isn’t the time to tackle that remote wilderness area you’ve been dreaming about. Start with beginner-friendly trails that offer well-marked paths, moderate difficulty ratings, and established campsites. These trails give you the perfect training ground to build skills without unnecessary risk.
Location matters more than you might think. Choose a destination within a 2-3 hour drive from home for your first few trips.
This proximity provides psychological comfort and practical advantages—if weather turns severe or you need to bail out early, you’re not facing a cross-country emergency. Popular national and state parks offer excellent options with ranger stations, clear trail markers, and maintained facilities.
Trail traffic patterns deserve careful consideration. You want the Goldilocks zone: not so crowded that you lose the solitude experience, but not so remote that you’re completely isolated.
Moderately populated trails mean you’ll likely encounter other hikers during the day, which provides an invisible safety net while still giving you plenty of alone time. Check recent trip reports online to gauge current traffic levels.
Seasonal timing dramatically impacts your experience. Spring and fall provide ideal conditions for newcomers—moderate temperatures, fewer insects, and generally stable weather patterns.
Summer brings crowds and heat exhaustion risks, while winter demands advanced skills most beginners haven’t developed yet. Start your solo journey when nature is working with you, not against you.
Creating Your Safety Communication Plan
The trip plan document is your essential safety tool. This isn’t just a casual “I’m going hiking” text—it’s a detailed document that includes your planned route, campsites, expected return time, vehicle description and location, emergency contacts, and what to do if you don’t check in. Give this to two trusted people who will actually follow through if something goes wrong.
Establish realistic check-in schedules based on your itinerary. For a three-day trip, plan to text or call after you return to your car. For longer adventures, consider a satellite communicator that allows daily check-ins. The key is setting expectations—your emergency contacts need to know exactly when to worry and when to call for help.
Emergency communication devices have become more affordable and reliable in 2026. Personal Locator Beacons (PLBs) send distress signals to search and rescue, while satellite messengers like Garmin inReach allow two-way texting even without cell service. These devices provide peace of mind for both you and your loved ones, and they’re worth every penny of the investment.
Before you leave cell service behind, download offline maps for your entire route plus surrounding areas. Apps like Gaia GPS and AllTrails offer detailed topographic maps that work without internet.
Take screenshots of key trail junctions, water sources, and campsite locations. Also download weather forecasts and any recent trail condition reports. This digital preparation takes 20 minutes and could save your trip—or your life.
Physical and Mental Preparation
Your body needs time to adapt to the demands of backpacking. Start training 4-6 weeks before your trip with progressive loaded hikes. Begin with day hikes carrying 15-20 pounds, then gradually increase both weight and distance.
By two weeks out, you should comfortably handle 8-10 mile hikes with your full pack weight. This training prevents injuries and builds the physical confidence you need on trail.
Mental preparation matters just as much as physical fitness. Practice visualization techniques—mentally walk through your entire trip from trailhead to return.
Imagine encountering challenges like rain, navigation decisions, and moments of doubt, then visualize yourself handling them calmly. This mental rehearsal actually strengthens your problem-solving abilities when real challenges arise.
Build self-reliance skills through solo day hikes before committing to overnight trips. Spend a full day alone on the trail, practicing navigation, making all your own decisions, and getting comfortable with solitude.
This low-stakes practice reveals what solo hiking actually feels like and helps you adjust expectations before adding the complexity of camping.
Set realistic daily mileage goals based on your fitness level and terrain difficulty. Most beginners should target 8-12 miles per day on moderate terrain.
Remember, you’re carrying everything on your back and setting up camp each evening—that takes more time and energy than day hiking. It’s far better to finish your planned miles feeling strong than to overcommit and struggle.
Solo Backpacking Gear: The Ultimate Smart Packing List
The Big Three: Pack, Shelter, and Sleep System
Your backpack, shelter, and sleep system account for the majority of your carried weight, so these choices matter enormously. For multi-day solo trips, a 40-65 liter pack provides enough capacity without encouraging overpacking.
The perfect size depends on your gear volume and trip length—lighter gear means smaller pack needs. Get properly fitted at an outdoor retailer; an ill-fitting pack causes pain and ruins trips.
Shelter selection for solo travelers centers on the weight-to-protection ratio. Lightweight one-person tents offer proven weather protection and bug defense in a 2-3 pound package.
Hammock systems work beautifully in forested areas and often weigh less than tents, though they require trees and leave you vulnerable in treeless alpine zones.
Bivies and tarps save maximum weight but demand more skill and weather awareness. For your first solo trips, a simple one-person tent provides the best balance of comfort, protection, and peace of mind.
Your sleep system needs to match the coldest temperatures you’ll encounter. A quality sleeping bag rated 10-15 degrees below expected nighttime lows ensures comfortable sleep, and comfortable sleep means better decision-making the next day.
Pair your bag with an insulated sleeping pad that provides both cushioning and critical insulation from cold ground. Down bags offer the best warmth-to-weight ratio in dry conditions, while synthetic bags maintain warmth even when damp.
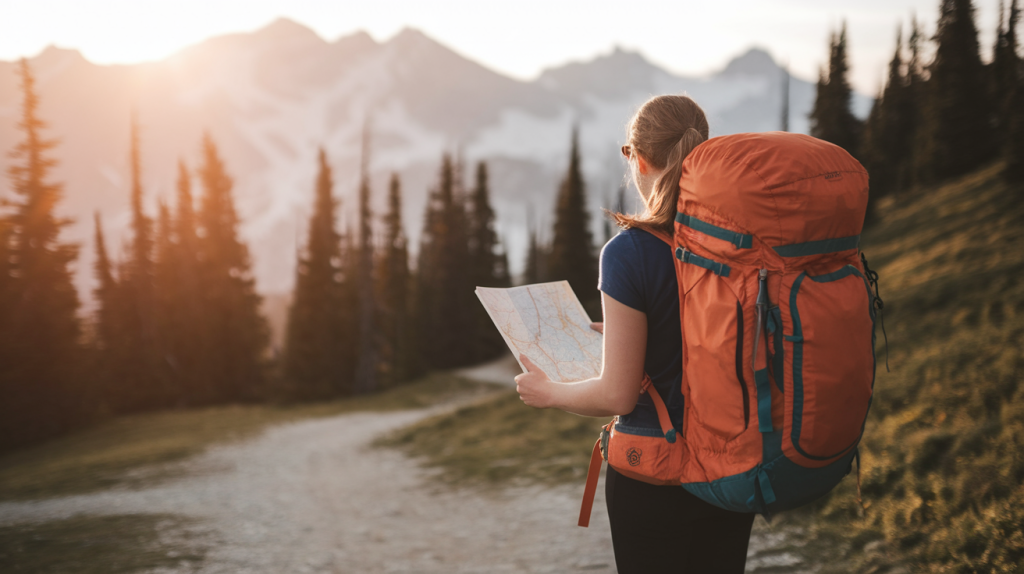
Navigation and Communication Essentials
Modern GPS devices and smartphone apps provide incredible navigation capabilities, but technology fails. Batteries die, screens crack, and electronics malfunction in wet conditions.
Always carry paper maps and a compass as backup, and actually know how to use them. This redundancy has saved countless hikers who relied too heavily on technology.
Choosing between Personal Locator Beacons and satellite messengers depends on your communication needs. PLBs are simpler and cheaper—they do one thing perfectly: send emergency distress signals.
Satellite messengers cost more and require subscriptions but allow two-way texting, weather updates, and non-emergency communication.
For solo backpackers, the communication capability of devices like Garmin inReach or Zoleo provides valuable peace of mind and practical advantages.
Lighting solutions need redundancy. Your primary headlamp should offer at least 200 lumens, multiple brightness settings, and 20+ hour battery life on low settings.
Pack a backup lightweight headlamp or flashlight—not as a “maybe” but as standard equipment. For trips longer than three days, bring a portable battery bank to recharge devices. Solar chargers work in theory but prove frustratingly slow in real conditions; battery banks provide reliable power.
The Solo-Specific Safety Kit
When you’re your own rescue team, your first aid kit needs thoughtful curation. Beyond basic supplies like bandages and blister treatment, include medications for pain, inflammation, allergies, and digestive issues.
Add a SAM splint for potential fractures, irrigation syringe for wound cleaning, and detailed first aid instructions—in an emergency, you might not remember procedures clearly. Take a wilderness first aid course before your first solo trip; knowledge weighs nothing and could save your life.
Water filtration systems require backup methods. Your primary filter (Sawyer Squeeze, Katadyn BeFree, or similar) handles daily needs efficiently.
Pack chemical purification tablets as backup for filter failures or freezing conditions. Plan to filter at least two liters of water capacity at once, allowing you to hydrate at water sources and carry enough for dry camping stretches.
Master the three-layer clothing system: a moisture-wicking base layer, an insulating mid-layer (fleece or puffy jacket), and a waterproof/breathable shell layer.
This system adapts to changing conditions by adding or removing layers. Avoid cotton entirely—it loses all insulating value when wet. Synthetic and merino wool fabrics dry quickly and maintain warmth even when damp.
Emergency shelter and fire-starting gear provide critical redundancy. Pack an emergency bivy or space blanket even though you’re carrying a tent—these lightweight items could save your life if you’re injured far from camp or your primary shelter fails. Carry three fire-starting methods: waterproof matches, a reliable lighter, and a ferro rod. Store them in separate locations so you’re never without fire-starting capability.
Safety Strategies: Staying Secure in the Wild
Wildlife Awareness and Food Storage
Proper food storage protects both you and wildlife. In bear country, hard-sided bear canisters offer the most reliable protection and are required in many areas. Learn proper canister use—place it at least 100 feet from camp, don’t sleep with it, and avoid rolling it off cliffs (yes, bears will push canisters downhill). In areas without bear canisters requirements, the PCT bear hang method provides effective protection when executed correctly with proper technique and rope.
Understanding wildlife behavior dramatically reduces risk. Bears generally avoid humans—making noise while hiking through dense vegetation or near running water alerts them to your presence, giving them time to leave. Most wildlife encounters happen because animals are surprised at close range. Traveling during daylight hours, staying alert, and making periodic noise keeps you safe without ruining the wilderness experience.
Camp location matters for wildlife safety. Set up at least 200 feet from water sources where animals drink and travel. Avoid camping near berry patches, animal trails, or areas with fresh scat. Choose sites with good visibility so you can see approaching animals. This awareness-based approach works better than paranoia—wildlife attacks on backpackers remain statistically rare, and smart camping practices make them even less likely.
If you encounter wildlife, response depends on the species. For bears: stay calm, speak in normal tones, back away slowly, and never run. Make yourself appear larger if the bear approaches. For mountain lions: maintain eye contact, appear large, back away slowly, and fight back aggressively if attacked. For moose: give them wide berth—they’re unpredictable and surprisingly aggressive. The best wildlife encounter is the one that never happens because you made smart decisions about noise, food storage, and camp location.
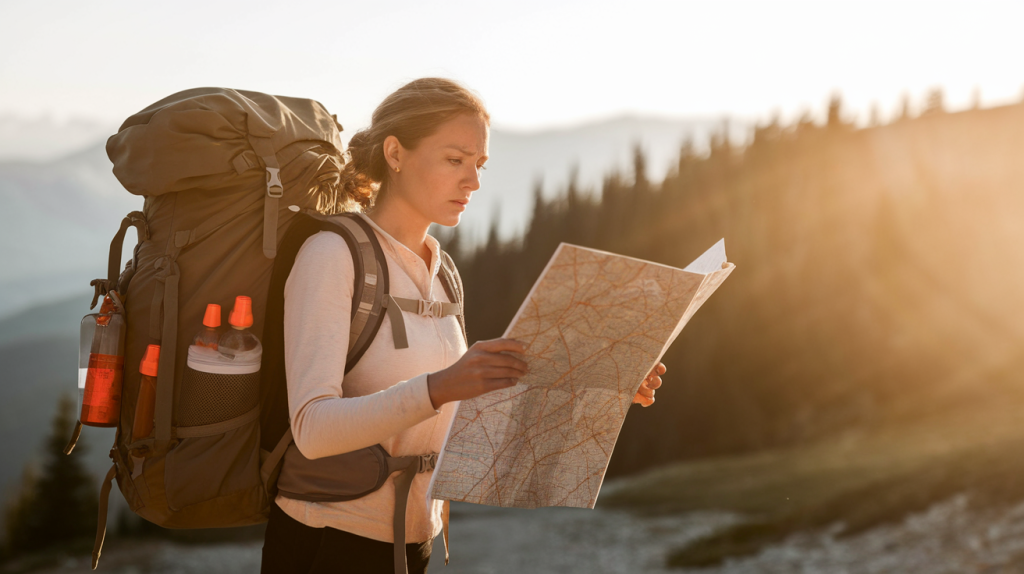
Navigation and Staying Found
Constant awareness prevents getting lost. Track landmarks continuously—that distinctive peak, the creek crossing, the meadow with dead snags. Check your map every 30 minutes, noting your approximate location. This ongoing awareness means you always know roughly where you are, making navigation corrections simple before they become problems.
The handrail technique uses linear features for foolproof navigation. Following a ridgeline, creek, or valley floor provides a natural guide that’s nearly impossible to lose. When you need to leave your handrail, note exactly where you departed and what bearing you’re following. This technique works especially well in poor visibility or unfamiliar terrain.
If you realize you’re off-trail, immediately implement the STOP principle: Stop moving, Think about your last known location, Observe your surroundings for landmarks, and Plan your next move calmly. Most people who get seriously lost do so by continuing to move when disoriented, compounding their navigation errors. Stopping prevents this cascade and allows rational decision-making.
Mark confusing trail junctions on your way in, especially in areas with multiple social trails or unclear signage. Stack a small rock cairn, break a small branch, or take a photo looking back the way you came. These breadcrumbs help you navigate the same junctions confidently on your return. This simple practice eliminates much of the stress around route-finding.
Weather Preparedness and Risk Management
Reading weather patterns keeps you ahead of dangerous conditions. Morning clouds that burn off by 10 AM signal stable weather. Towering cumulus clouds building through the afternoon warn of potential thunderstorms. Rapidly dropping temperatures and increasing wind indicate frontal passage. Learn basic weather signs for your region—this knowledge helps you decide whether to push forward or modify plans.
Recognize early warning signs of environmental emergencies when you’re alone. Hypothermia begins with uncontrollable shivering, confusion, and loss of coordination. Heat exhaustion shows up as heavy sweating, weakness, and nausea. Catching these conditions early makes treatment straightforward; ignoring early signs leads to life-threatening situations. Solo backpackers must monitor themselves honestly—there’s no one else to notice when you’re struggling.
Lightning safety in exposed terrain requires decisive action. When thunderstorms threaten, get off ridges and peaks immediately—lightning strikes high points. Avoid lone trees and metal objects. If caught in the open, crouch on insulating material (your pack) with minimal ground contact. The 30-30 rule helps: when you see lightning, count seconds until thunder. If it’s 30 seconds or less, seek shelter and wait 30 minutes after the last thunder before resuming travel.
Always create contingency plans before you need them. Identify bail-out routes at each stage of your trip—trails that lead back to civilization faster than your planned route. Note locations of emergency shelters or ranger stations. Know where cell service becomes available. This advance planning means you can make quick, informed decisions when weather or other circumstances force plan changes. Flexibility and good judgment keep you safe—rigid adherence to plans despite changing conditions creates danger.
Solo Trail Life: Mastering the Mental and Practical Aspects
Establishing Your Daily Routine
Morning rituals set your entire day’s tone. Develop a consistent sequence: wake up, assess weather, eat breakfast, break down camp systematically, and start hiking during the coolest morning hours.
This routine reduces decision fatigue and ensures you don’t forget critical tasks. Many solo backpackers find that morning routines provide comforting structure in the wilderness’s unpredictability.
Pacing yourself matters more when you’re alone. Without group dynamics to regulate speed, you control everything. Start each day slowly, letting your body warm up before pushing harder.
Take short breaks every hour to hydrate, snack, and check navigation. This sustainable rhythm prevents the boom-bust pattern where you hike too hard early and struggle later. Listen to your body—pain and excessive fatigue signal the need to slow down.
Evening camp setup follows a logical sequence for efficiency and safety. Arrive at camp with 2-3 hours of daylight remaining, giving you time to set up without rushing.
First, hang or store food properly. Second, set up your shelter and sleeping system. Third, filter water and prepare dinner. Fourth, organize gear for the night and morning. This sequence ensures critical tasks happen before darkness and fatigue compromise your judgment.
Managing energy and morale during challenging moments separates successful solo backpackers from those who struggle. When you’re tired, wet, or discouraged, break problems into small steps. Instead of “I have five more miles,” think “I’ll hike to that next switchback.” Carry a small morale item—a favorite snack, inspiring quote, or photo—for tough moments. Remember that discomfort is temporary, and you’ve overcome challenges before. This mental resilience grows with each solo trip.
Building Confidence Through Solo Decision-Making
Trusting your instincts while staying rational about risks defines mature solo backpacking. Your gut feeling often picks up on subtle danger signs before your conscious mind processes them.
If something feels wrong—a sketchy river crossing, deteriorating weather, or unusual wildlife behavior—trust that feeling. Simultaneously, avoid paranoia-based decisions.
Balance intuition with objective risk assessment: What are the actual dangers? What are the consequences? What are my options?
The empowerment of solving problems independently transforms your self-concept. When you successfully navigate a confusing trail junction, repair broken gear with improvised solutions, or safely handle unexpected weather, you prove to yourself that you’re capable.
This confidence extends far beyond backpacking—you approach challenges in work and relationships with greater self-assurance. Solo backpacking becomes a laboratory for personal growth.
Knowing when to push forward versus when to modify plans requires honest self-assessment. Push forward when: conditions are manageable, you have adequate daylight, your body feels strong, and you’re making good progress.
Modify plans when: weather becomes dangerous, you’re injured or exhausted, you’re significantly behind schedule, or you feel genuinely unsafe. There’s no shame in adjusting plans—good judgment and flexibility demonstrate wisdom, not weakness.
Discovering your personal hiking style without group compromises reveals preferences you might not know you have. Maybe you love starting at dawn and stopping by 2 PM.
Perhaps you prefer shorter days with long lunch breaks. You might discover you’re a fast hiker who enjoys pushing miles, or a slow wanderer who stops frequently for photos. Solo backpacking lets you optimize for your preferences, creating experiences perfectly tailored to what brings you joy.
Connecting with Other Solo Hikers and Trail Community
The unwritten etiquette of solo backpackers meeting on trail creates instant connection. A friendly greeting, brief conversation about trail conditions, and genuine interest in each other’s journeys often lead to valuable information sharing.
Many solo backpackers report that some of their best trail friendships started with chance encounters. You’re never obligated to hike together, but these interactions provide social connection and safety awareness.
Online communities offer incredible resources for trip planning and current conditions. Forums like Reddit’s r/WildernessBackpacking, Facebook groups for specific trail systems, and apps like AllTrails provide recent trip reports, water source updates, and trail condition information.
Contribute your own reports after trips—this reciprocity strengthens the community. These digital connections often translate to real-world trail friendships.
Solo doesn’t mean isolated. Popular campsites and scenic locations naturally attract multiple backpackers, creating temporary communities. You maintain your independence while enjoying evening conversations, shared meals, and the security of nearby campers. Many solo backpackers deliberately choose campsites where they’re likely to encounter others, balancing solitude during hiking with social connection in camp.
Balance your need for solitude with smart social connections for safety. Chat briefly with hikers you encounter, mentioning your rough itinerary. These casual interactions mean someone knows you’re out there and roughly where you’re headed. If you don’t emerge from the wilderness, these encounters help search and rescue narrow their search area. This informal network provides security without compromising your solo experience.
Final Thoughts
Bringing It All Together: Your Path to Solo Backpacking Success
Solo backpacking success rests on four essential pillars you’ve now mastered. First, thorough planning creates your foundation—choosing appropriate destinations, establishing communication protocols, and preparing physically and mentally. Second, smart gear choices ensure you carry everything necessary without excess weight, focusing on the big three and safety essentials. Third, proven safety strategies for wildlife, navigation, and weather keep you secure without paranoia. Fourth, the right mindset transforms challenges into growth opportunities and builds unshakeable confidence.
Start small and build your skills progressively. Your first solo overnight trip might feel intimidating, but it doesn’t need to be epic. A one-night trip to a popular campsite five miles in teaches you everything you need to know while keeping risk manageable. Your second trip can push slightly further. By your fifth solo adventure, you’ll navigate confidently, make quick camp, and handle unexpected situations with calm competence. This progression builds skills and confidence simultaneously.
The transformative power of solo backpacking extends far beyond the trail. You develop confidence that permeates every life area—you speak up more in meetings, tackle challenging projects, and trust your decision-making. You gain clarity about what truly matters, stripped of daily distractions and social noise. You forge a deep connection to nature that grounds and centers you. Former solo backpackers consistently report that their wilderness experiences fundamentally changed how they see themselves and their capabilities.
Your Action Steps for the Next 30 Days
Take these concrete actions to make your solo backpacking dream reality. In the next week, research and select your first destination—a beginner-friendly trail within three hours of home. Week two, create your detailed trip plan and identify your emergency contacts. Week three, assess your gear and acquire any missing essentials, focusing on the big three and safety items. Week four, complete at least two training hikes with your full pack and finalize all logistics.
The adventure waiting for you delivers both breathtaking beauty and achievable challenge. You’ll stand on ridgelines watching sunset paint distant peaks. You’ll fall asleep to nothing but wind and crickets. You’ll solve problems, push through discomfort, and discover reserves of strength you didn’t know you possessed. This experience is real, attainable, and closer than you think.
Every experienced solo backpacker started exactly where you are now—nervous, excited, and wondering if they could really do this. They took that first step despite uncertainty. They learned through experience. They grew with each trip. You have everything you need to follow the same path. The knowledge in this guide, the gear you’ll gather, and the courage you already possess combine to make you ready.
The wild is calling with its promise of freedom, growth, and adventure. You now have everything you need to answer smart and safe. Choose your trail, mark your calendar, and take that first epic step. Your solo backpacking journey begins now—and it’s going to be absolutely transformative.