7 Beginner Trekking Tips for High Altitude Hikes
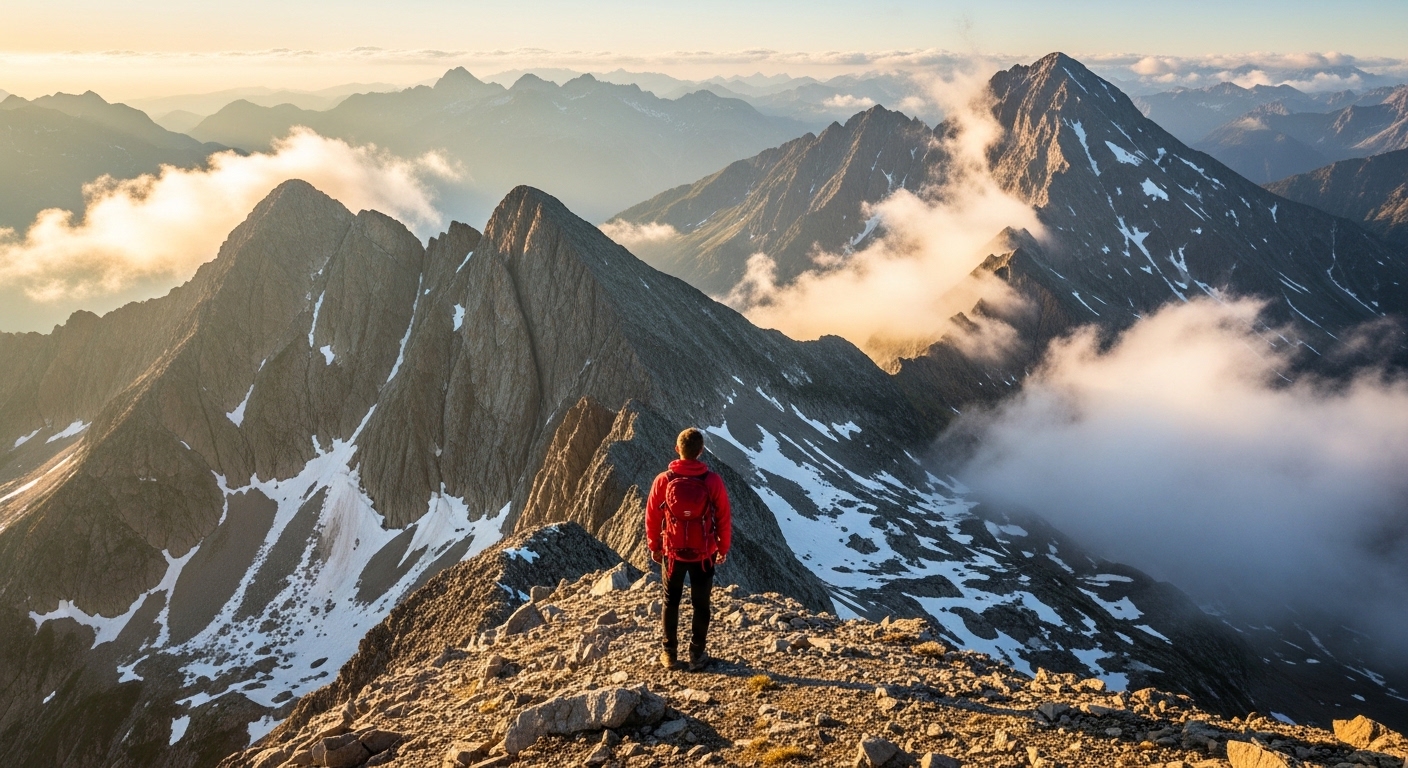
There’s something transformative about standing above the clouds, breathing thin mountain air, and earning views that most people only see in photographs.
High altitude trekking pushes you beyond your comfort zone and rewards you with unforgettable moments of wild beauty. But here’s the truth: altitude doesn’t care about your sea-level fitness level or how many miles you can crush on flat terrain.
Your body needs time, preparation, and respect for the mountains to thrive above 8,000 feet. I’ve watched countless beginners struggle unnecessarily because they skipped essential preparation steps or ignored their body’s warning signs. This doesn’t have to be you.
These seven beginner-friendly tips will set you up for a safe, epic high altitude adventure. Whether you’re planning your first trek in the Rockies, dreaming of Kilimanjaro, or exploring the stunning trails of the Himalayas, this guide gives you the practical knowledge you need to succeed. Let’s turn that breathtaking summit dream into reality.
Understand Altitude Acclimatization: Your Body’s Ultimate Adaptation
The Science Behind the Struggle
Above 8,000 feet, the air pressure drops significantly, which means less oxygen reaches your lungs with each breath. Your body has to work harder to deliver oxygen to your muscles and brain. This isn’t weakness—it’s physics. Even Olympic athletes feel the effects of altitude.
Your heart rate increases, your breathing becomes more rapid, and you might feel like you’re moving through water instead of air. These are normal responses to reduced oxygen availability. What’s not normal? Ignoring symptoms that signal your body needs more time to adapt.
Common altitude sickness symptoms include persistent headaches, nausea, dizziness, fatigue that feels different from normal tiredness, and loss of appetite. Some people experience difficulty sleeping or feel short of breath even while resting. Recognizing these early warning signs could save your trek—or your life.
The Golden Rule: Climb High, Sleep Low
This strategy is your secret weapon for successful acclimatization. The concept is simple but powerful: you can hike to higher elevations during the day, but you should sleep at a lower altitude than you reached. This allows your body to experience the stress of higher elevation while recovering at a more oxygen-rich altitude during rest.
For beginners, limit your sleeping elevation gain to no more than 1,000-1,500 feet per day once you’re above 8,000 feet. Yes, this means your trek takes longer. Yes, it’s worth it. Rushing altitude gain is the number one mistake that ruins high altitude adventures.
Schedule rest days every 3,000 feet of elevation gain. These aren’t lazy days—they’re strategic acclimatization tools. You can take short hikes or explore the area, but sleep at the same elevation for two nights. Your body uses this time to produce more red blood cells and adjust to the thinner air. Think of rest days as an investment in reaching your summit goal.
Listen to Your Body’s Warning Signs
Normal altitude discomfort includes mild headaches that respond to hydration and ibuprofen, slightly reduced appetite, and feeling more tired than usual. These symptoms should improve with rest and proper acclimatization.
Dangerous symptoms require immediate action: severe headache that doesn’t respond to medication, vomiting, extreme fatigue that makes walking difficult, confusion or difficulty with coordination, and shortness of breath while resting. If you experience any of these, descend immediately. Even dropping 1,000-2,000 feet can make a dramatic difference.
Create a communication system with your hiking partners before you start. Agree that anyone can call for a rest or descent without judgment. Pride kills people in the mountains. Smart adventurers check in with each other regularly and speak up when something feels wrong.
Train Smart Before You Discover the Heights

Build Your Cardiovascular Endurance
Your cardiovascular system is the engine that powers every step uphill. At altitude, that engine needs to run efficiently on less fuel. Start training 8-12 weeks before your trek—this gives your body time to build real endurance, not just temporary fitness.
Focus on activities that elevate your heart rate for sustained periods. Hiking with a weighted pack is the ultimate preparation because it mimics your actual trek conditions. Start with 10-15 pounds and gradually increase to match your expected pack weight. Aim for 3-4 cardio sessions per week, with at least one long session (60-90 minutes) on weekends.
Stair climbing is incredibly effective for building the specific leg strength and cardiovascular endurance you need. Find a tall building, stadium, or outdoor staircase and make friends with it. Running and cycling also build excellent aerobic capacity. Mix up your training to keep it interesting and work different muscle groups.
Strengthen Your Legs and Core
Your quadriceps, hamstrings, glutes, and calves do the heavy lifting on steep mountain trails. Your core stabilizes every step on uneven terrain. Weak muscles mean slower progress, higher injury risk, and less enjoyment of those epic views.
Incorporate strength training 2-3 times per week. Squats, lunges, step-ups, and deadlifts build powerful legs. Add variations like single-leg exercises to improve balance and address muscle imbalances. Your core needs attention too—planks, side planks, and mountain climbers create the stability you need for rocky, challenging terrain.
Progressive overload is key. Start with bodyweight exercises and gradually add resistance through dumbbells, barbells, or a weighted backpack. Your training should feel challenging but not exhausting. You’re building endurance, not preparing for a bodybuilding competition.
Practice Hikes: Test Your Gear and Your Grit
Practice hikes are non-negotiable. They reveal whether your boots cause blisters before you’re three days into a remote trek. They show you if your pack’s hip belt needs adjustment. They teach you how your body responds to sustained uphill effort.
Schedule practice hikes every week, gradually increasing elevation gain and distance. Start with 3-5 miles and 500-1,000 feet of elevation gain, then build toward longer adventures. Your final practice hike should match or exceed your planned daily trekking distance and elevation gain.
Test everything: your layering system, your hydration strategy, your snack preferences, your pacing approach. Experiment with different sock combinations to prevent blisters. Learn how often you need to eat and drink to maintain energy. These practice sessions transform unknowns into confidence.
Pack the Essential Gear for Epic High Altitude Adventures
The Non-Negotiable Safety Items
Navigation tools save lives when weather rolls in or trails become unclear. Carry a GPS device with downloaded offline maps, a physical map of your route, and a compass—and know how to use all three before you leave home. Your phone’s battery dies; paper maps don’t.
Your first aid kit needs altitude-specific additions. Include medications for altitude sickness (discuss options like acetazolamide with your doctor before your trip), pain relievers, anti-nausea medication, and supplies for treating blisters. Add a basic emergency shelter like a lightweight bivy sack or space blanket.
Communication devices provide crucial safety backup in remote areas. A satellite communicator or personal locator beacon allows you to call for help when you’re beyond cell service. These devices are affordable insurance for your safety and your family’s peace of mind.
Layer Like a Pro for Unpredictable Mountain Weather
Mountain weather changes faster than you can say “where did that storm come from?” The three-layer system keeps you comfortable through dramatic temperature swings and weather changes.
Your base layer sits against your skin and manages moisture. Choose merino wool or synthetic fabrics that wick sweat away from your body. Cotton absorbs moisture and stays wet—a dangerous combination at altitude where temperatures drop quickly. This is one rule without exceptions: cotton kills in the mountains.
Your insulation layer traps warm air. Fleece jackets or lightweight down/synthetic puffy jackets work perfectly. Bring options for different temperatures—a lightweight fleece for mild conditions and a warmer puffy for cold mornings and evenings.
Your outer shell layer protects you from wind, rain, and snow. Invest in a quality waterproof, breathable jacket and pants. These pieces are worth the money because they keep you dry without trapping sweat inside. Wet equals cold, and cold at altitude is miserable and dangerous.
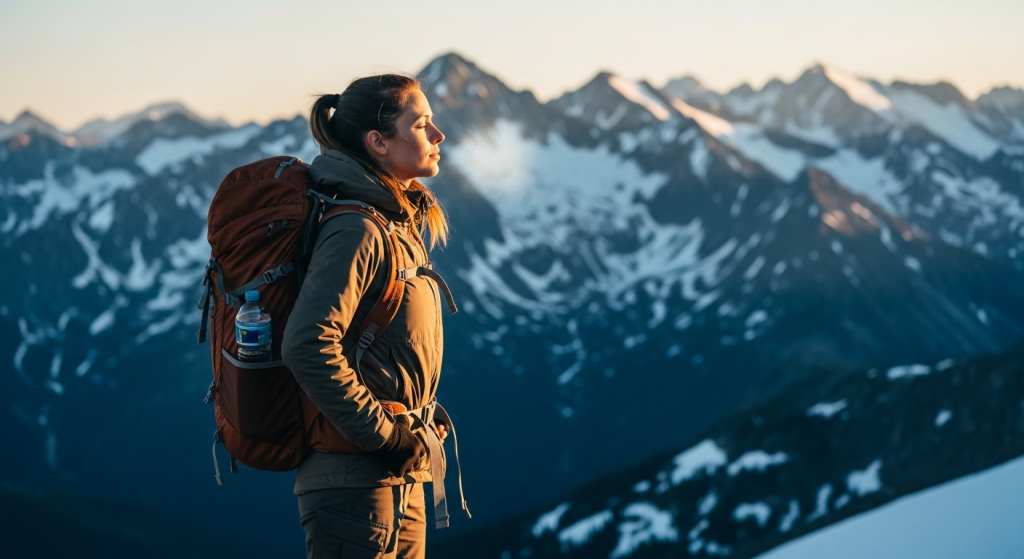
Hydration and Nutrition Essentials
Altitude increases your hydration needs significantly. You lose more water through increased breathing rate and the dry mountain air. Aim for 3-5 liters of water per day, more if you’re working hard or conditions are hot.
Carry water purification tablets, a filter, or a UV purifier. Mountain streams look pristine but can harbor harmful organisms. Don’t risk your trek to waterborne illness. Have backup purification methods in case your primary system fails.
Altitude suppresses appetite, but your body needs fuel more than ever. Pack high-energy, easy-to-eat snacks: trail mix, energy bars, jerky, chocolate, dried fruit, and nuts. Choose foods you actually enjoy eating—you’re more likely to fuel properly when food tastes good. Eat small amounts frequently rather than waiting until you’re hungry.
Master the Mental Game and Pacing Strategies
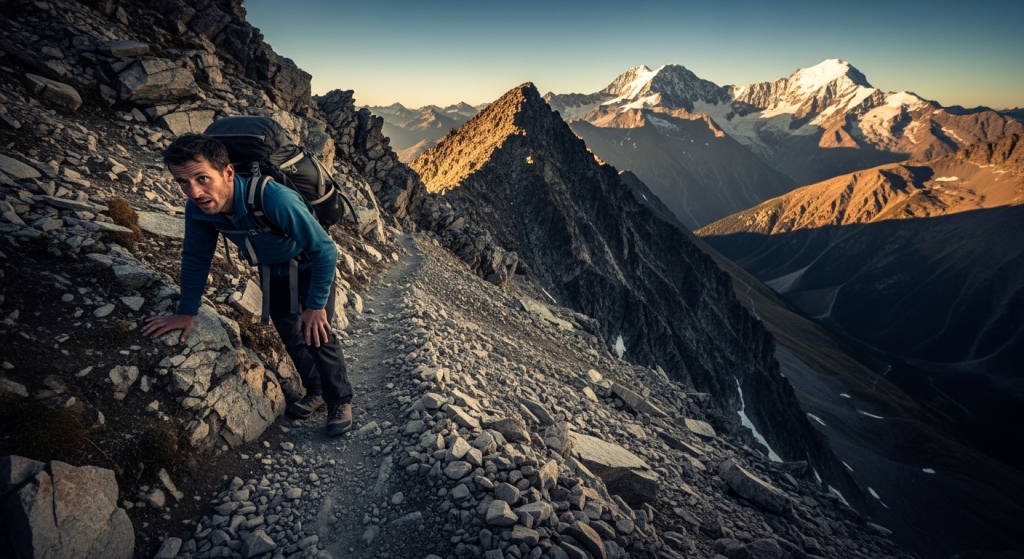
Slow and Steady Wins the Mountain Race
Your normal hiking pace won’t work at altitude. Period. The sooner you accept this, the better your trek becomes. Slow down to a pace that feels almost too easy at first. This sustainable rhythm allows you to cover impressive distances without exhausting yourself.
Pressure breathing is a game-changing technique for thin air. Purse your lips and forcefully exhale, creating back-pressure in your lungs. This keeps your airways open longer and helps you extract more oxygen from each breath. Inhale through your nose, exhale strongly through pursed lips. Practice this during training so it becomes natural.
The rest-step method transforms steep climbing. Step up with one leg, then pause briefly while your back leg is straight and locked. This micro-rest allows your skeletal system to support your weight instead of your muscles. Step, pause, breathe, repeat. It looks slow but covers ground efficiently while conserving energy.
Break Your Trek into Micro-Goals
Looking at a summit thousands of feet above you creates mental overwhelm. Your brain sees an impossible task and wants to quit. Instead, focus on reaching the next switchback, the tree 100 yards ahead, or the boulder you can see up the trail.
Counting steps works surprisingly well. Count to 100, then start over. This occupies your mind and breaks the climb into manageable chunks. Some trekkers count to 50 or 20—find your rhythm. The counting meditation keeps you present instead of fixating on how far you still have to go.
Celebrate small victories. Reached a viewpoint? Stop and appreciate it. Climbed 500 feet? Acknowledge that achievement. Completed the first hour? You’re crushing it. These positive checkpoints build momentum and keep motivation high when the trail gets tough.
Embrace the Adventure Mindset
Challenges are the point, not obstacles to your perfect experience. That steep section testing your limits? It’s making you stronger. The weather that forced you to layer up? It’s adding character to your story. Reframing difficulties as part of your wild adventure transforms frustration into appreciation.
Mental resilience grows when you push through discomfort. You discover you’re capable of more than you imagined. That knowledge stays with you long after the trek ends. The mountain teaches you about yourself—lessons that apply to every challenging situation you face.
Stay motivated by connecting with your “why.” Why did you choose this adventure? What will standing at the summit mean to you? When your legs burn and your lungs ache, remember your purpose. That emotional connection carries you through the hardest moments.
Weather Wisdom and Timing Your Summit Push
Mountain weather patterns follow predictable rhythms. Mornings typically offer clear skies and calm conditions. Afternoon storms build as the day heats up, especially in summer months. Plan summit pushes and high passes for early morning—start hiking before dawn if necessary.
Early starts give you stunning sunrise views, cooler temperatures for climbing, and safety margins. If weather deteriorates, you have time to descend before conditions become dangerous. Yes, waking up at 4 AM is brutal. The rewards are worth it.
Know when to turn back. This is the hardest but most important decision you’ll make. Bad weather, dangerous conditions, or concerning symptoms mean it’s time to descend. The mountain will be there next year. Your safety matters more than any summit. Making the smart decision to turn around demonstrates strength, not weakness.
Conclusion
High altitude trekking delivers some of life’s most breathtaking and rewarding experiences. Standing above the clouds, breathing the thin mountain air, and earning those epic views through your own effort creates memories that last forever. But success at altitude requires preparation, respect for the mountains, and smart decision-making.
Start by understanding how your body acclimatizes and giving it the time it needs to adapt. Climb high, sleep low, and never ignore warning signs that your body needs more time or a lower elevation. Train consistently for 8-12 weeks before your trek, building both cardiovascular endurance and the leg strength that powers you uphill. Test your gear and your strategies on practice hikes before committing to a remote adventure.
Pack the essential safety gear that keeps you prepared for emergencies and unpredictable mountain weather. Master your pacing with techniques like pressure breathing and the rest-step method. Break your trek into achievable micro-goals that keep you motivated when the trail gets challenging. And embrace the adventure mindset that transforms difficulties into the stories you’ll tell for years.
The mountains are calling, and you’re ready to answer. Your first high altitude trek will challenge you, change you, and show you what you’re truly capable of achieving. Start your training today, gather your gear, and begin planning that epic adventure. The wild, scenic, unforgettable views waiting above 8,000 feet are worth every step of preparation. Your summit is out there—go discover it.