5 Trail Safety Tips for Every Beginner Hiker
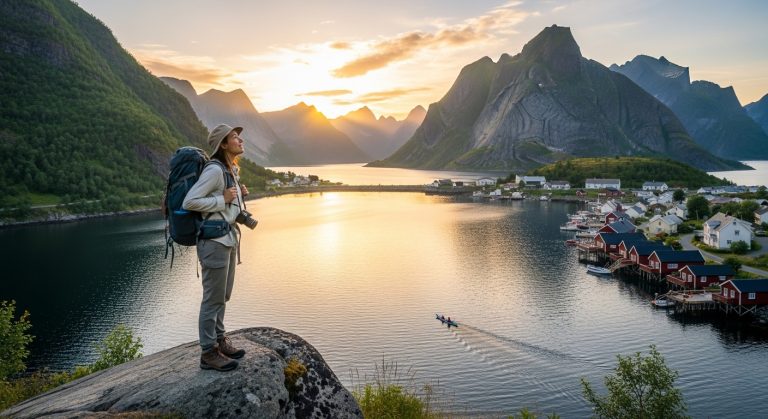
You’ve seen those breathtaking trail photos on Instagram. You’ve heard friends rave about their weekend hikes. Now you’re ready to lace up your boots and hit the trails yourself. But here’s what nobody tells you: even “easy” trails can turn dangerous fast if you’re not prepared.
I’m not trying to scare you—I’m trying to keep you safe. Because here’s the truth: most hiking accidents happen to beginners who think they’re just going for a “quick walk in the woods.” They skip essential preparations because the trail looks simple. They underestimate how quickly weather changes. They forget to tell anyone where they’re going.
You deserve better than that. You deserve to experience the incredible joy of hiking without the preventable mishaps that turn adventures into emergencies.
In this guide, I’m breaking down five proven safety tips that every beginner needs to know. These aren’t complicated wilderness survival tactics—they’re simple, practical strategies that could literally save your life. And here’s the bonus: when you’re properly prepared, you actually enjoy hiking more. You feel confident instead of anxious. You notice the beauty around you instead of worrying about what could go wrong.
Ready to become a prepared, confident hiker? Let’s get started.
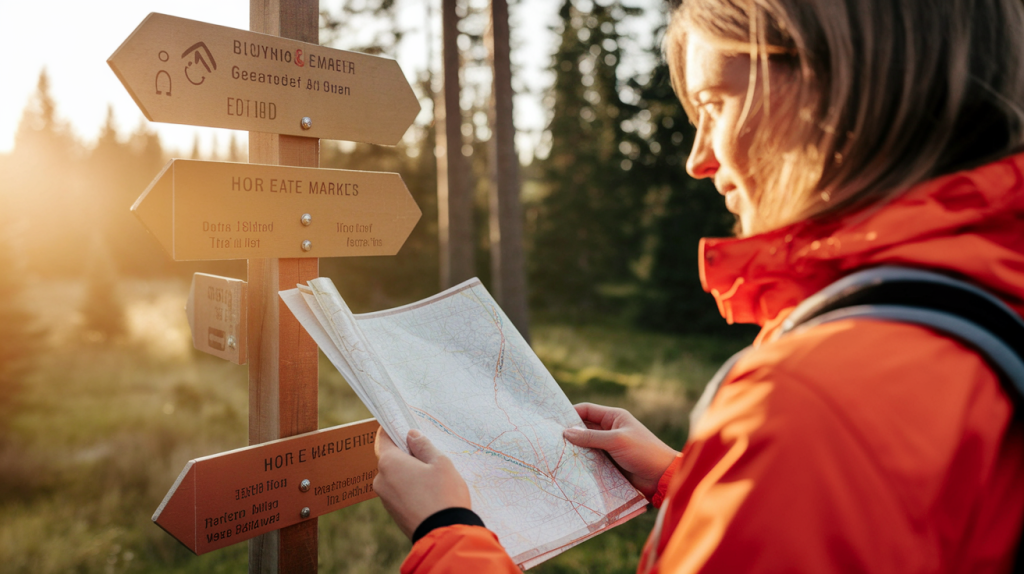
Know Your Trail Before You Go
The biggest mistake beginners make? Showing up at a trailhead with zero information about what they’re about to tackle. They see “beginner-friendly” in a description and assume it’ll be a casual stroll. Then they’re two miles in, facing a steep climb, with sunset approaching fast.
Research Is Your Best Friend
Trail difficulty ratings exist for a reason, but you need to understand what they actually mean. A “moderate” trail in Colorado—with high altitude and rocky terrain—is completely different from a “moderate” trail in a flat state park. Don’t just glance at the rating and move on.
Here’s your research checklist before every hike:
Start with the official park or trail website. These sites provide essential details like total distance, elevation gain, trail surface conditions, and estimated completion time. Pay special attention to elevation gain—a five-mile trail with 2,000 feet of climbing is exponentially harder than a flat five-mile path.
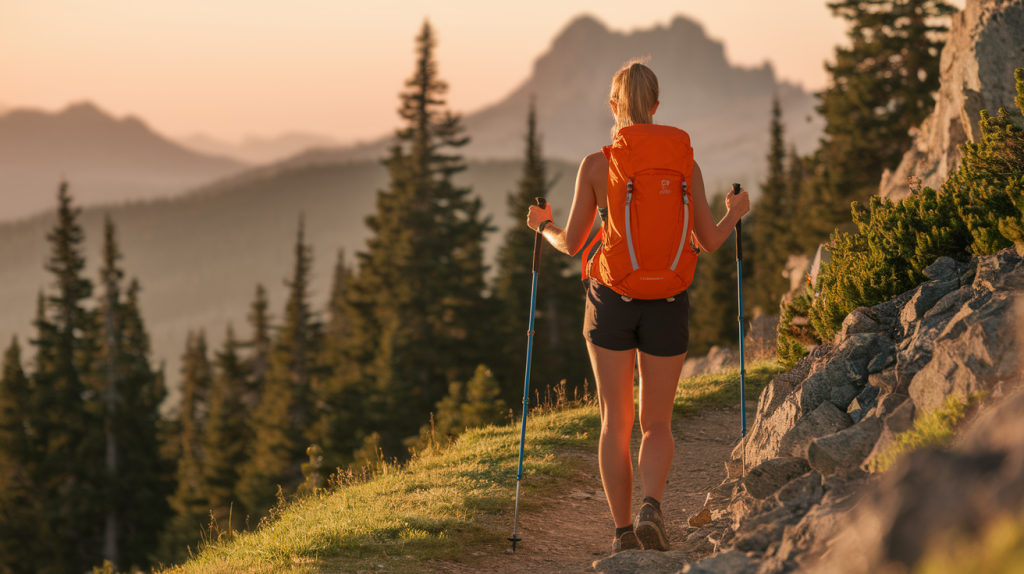
Next, check AllTrails, Hiking Project, or similar apps. Read recent reviews from actual hikers. They’ll tell you about current conditions, tricky sections, muddy areas, or confusing trail junctions. When someone says “bring trekking poles” or “watch for unmarked turns at mile 2.3,” take notes.
Answer these questions before you start: – What’s the total distance, and can I realistically complete it? – How much elevation gain will I face? – How long will it take me? (Add 50% to estimates for your first few hikes) – Are there stream crossings, exposed sections, or technical obstacles? – Where are the bailout points if I need to turn back early?
Check Weather and Trail Conditions
Weather on the trail is nothing like weather in your backyard. Mountains create their own weather systems. Temperatures drop as you gain elevation. Afternoon thunderstorms appear out of nowhere. That sunny morning forecast? It doesn’t guarantee sunny afternoon conditions at 8,000 feet.
Check the weather forecast the night before and again the morning of your hike. Look specifically at hourly forecasts, not just daily summaries. Watch for temperature swings, precipitation chances, and wind speeds. If thunderstorms are predicted for the afternoon, start early or reschedule.
But don’t stop at weather. Check real-time trail conditions through park alerts, ranger station updates, or recent hiker reports. Trails close for wildlife activity, fire danger, flooding, or maintenance. That perfect trail you researched might be temporarily off-limits.
Tell Someone Your Plans
This simple habit saves lives. Every year, search and rescue teams locate lost hikers because someone knew where to look. They knew the hiker’s planned route, start time, and expected return.
Before every hike, text or email someone your complete itinerary: trail name, trailhead location, your planned route, start time, and expected return time. Include a “worry time”—the point when they should contact authorities if they haven’t heard from you.
Solo hikers, this applies double to you. Some hikers use apps like AllTrails to share their location in real-time with emergency contacts. Others leave detailed notes on their car dashboard. Find a system that works for you, but never skip this step.
Pack the Right Gear and Essentials
You don’t need thousands of dollars in fancy gear to hike safely. But you do need the right essentials, even for short day hikes. Because here’s what happens: you plan a three-hour morning hike. Then you take a wrong turn. Or twist your ankle. Or weather moves in. Suddenly your quick outing becomes an unexpected night on the trail.
The Ultimate “10 Essentials” Simplified
The classic “10 Essentials” list has kept hikers safe for decades. Let me break it down in beginner-friendly terms:
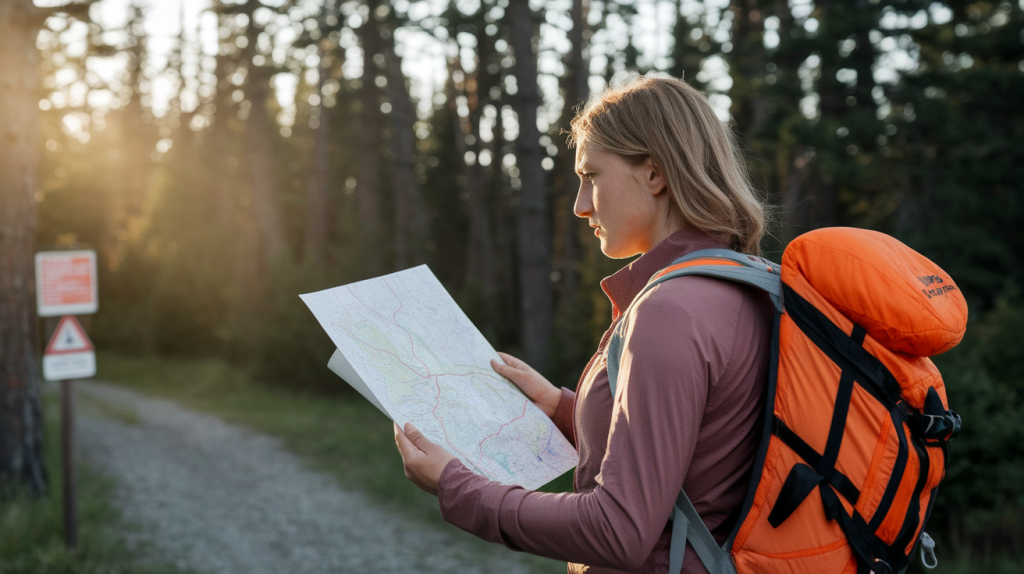
Navigation tools: Bring a physical map of the area and know how to read it. Yes, even with GPS on your phone. Download offline maps through apps like AllTrails or Gaia GPS. Consider a basic compass and learn the fundamentals of using it with your map. Technology fails—batteries die, phones break, GPS signals disappear in canyons.
Sun protection: Pack sunscreen (SPF 30+), sunglasses, and a hat with a brim. At higher elevations, UV exposure intensifies significantly. You can get severely sunburned on cloudy days.
First aid kit: A basic kit should include adhesive bandages, gauze, medical tape, pain relievers, antihistamine, tweezers, and any personal medications. Add blister treatment—moleskin or blister bandages save hikes.
Emergency shelter: This could be as simple as a space blanket or emergency bivy. If you’re stuck overnight unexpectedly, hypothermia becomes your biggest threat.
Fire starter: Waterproof matches or a lighter, plus fire starter cubes or tinder. You might need to signal for help or stay warm.
Knife or multi-tool: Essential for gear repairs, first aid, and emergency situations.
Extra food and water: Always pack more than you think you’ll need. Add at least one extra meal and an additional liter of water beyond your planned consumption.
Clothing and Footwear That Protects
Here’s the rule that keeps you comfortable and safe: cotton kills. When cotton gets wet from sweat or rain, it stays wet and saps your body heat. Choose moisture-wicking synthetic fabrics or merino wool instead.
Layer your clothing using this proven system: a moisture-wicking base layer against your skin, an insulating mid-layer for warmth, and a waterproof/windproof outer shell. You’ll add and remove layers as you hike, maintaining comfortable body temperature throughout changing conditions.
For footwear, wear broken-in hiking boots or trail shoes—never brand-new footwear on a real hike. Your feet will thank you. Pair them with moisture-wicking hiking socks (again, no cotton). Bring an extra pair of socks in case the first pair gets wet.
Don’t Forget Your Phone (But Don’t Rely On It)
Your smartphone is a valuable emergency tool, but it’s not infallible. Preserve battery life by switching to airplane mode when you’re not actively using it. The constant search for cell signal drains batteries fast.
Before you leave cell coverage, download offline maps of your hiking area. Take photos of the trailhead map and any posted information. These photos serve as backup navigation tools.
Keep your phone in a waterproof case or bag. When you do have signal, send quick check-in texts to your emergency contact. But remember: many trails have zero cell coverage. Don’t assume you can call for help if something goes wrong.
Stay on the Trail and Navigate Safely
Getting lost is easier than you think. It happens to experienced hikers, and it definitely happens to beginners. The good news? Most lost-hiker situations are completely preventable with smart navigation habits.
Why Wandering Off Is Dangerous
People rarely get lost by making one big wrong turn. They get lost through a series of small mistakes. They step off the trail to take a photo. They follow what looks like the main path, but it’s actually a game trail. They miss a trail marker because they’re distracted or tired.
Once you’re off the established trail, everything looks the same. Trees, rocks, and terrain features blend together. You lose your reference points. Panic sets in, and you make poor decisions—like continuing to walk instead of stopping to reorient.
Learn to recognize trail markers for your area. Blazes (painted marks on trees), cairns (stacked rocks), and trail signs vary by location. Some trails use different colored blazes for different routes. Know what markers you’re following before you start.
Simple Navigation Tips for Beginners
Here’s a technique that prevents 90% of navigation errors: stop and look back. Every few minutes, especially at trail junctions, turn around and look at the trail behind you. The trail looks completely different going the opposite direction. When you return, you’ll recognize these backward views.
Take photos at every trail junction or confusing intersection. Snap a picture of the trail sign, the direction you’re heading, and the view looking back. These photos become your breadcrumb trail home.
Use natural landmarks to stay oriented. Notice distinctive features: that oddly-shaped boulder, the creek crossing, the clearing with the dead tree. Mental notes like “I’ll reach the creek after about 45 minutes” help you track progress and recognize when something’s wrong.
Pay attention to your surroundings constantly. Notice the position of the sun, the general direction you’re traveling, and how long you’ve been hiking. If you’ve been walking for an hour and your map says you should have reached a landmark in 30 minutes, stop and reassess.
What to Do If You Actually Get Lost
First, stop moving. This is the hardest but most important step. Your instinct screams at you to keep walking, to find your way out. Resist that instinct.
Use the STOP method: Stop, Think, Observe, Plan.
Stop: Sit down. Drink some water. Calm your breathing and your mind.
Think: When did you last know your location with certainty? How long have you been walking since then? What direction were you traveling?
Observe: Look around carefully. Do you see any trail markers? Can you hear sounds from a road or other hikers? Check your map and GPS if you have them.
Plan: Decide your best course of action. Often, the smartest move is staying put, especially if people know your planned route. You’re easier to find if you’re not moving. If you decide to backtrack, mark your current location clearly so you can return if needed.
Make yourself visible and audible. Stay in clearings where you can be seen from above. Use a whistle (three blasts is the universal distress signal). If you have bright clothing, lay it out in an open area. At night, a small fire provides warmth and serves as a signal.
Maintain Your Physical Health and Energy
Your body is your most important piece of hiking equipment. When you’re properly fueled, hydrated, and paced, you make better decisions, avoid injuries, and actually enjoy the experience. Neglect your physical needs, and even easy trails become dangerous.
Hydration: Your Most Important Trail Companion
Dehydration sneaks up on you, especially when you’re focused on the trail ahead. By the time you feel thirsty, you’re already dehydrated. By the time you feel dizzy or get a headache, you’re seriously dehydrated—and you’re miles from your car.
Here’s the formula that works: drink about half a liter of water per hour of moderate hiking. Adjust upward for hot weather, high altitude, or strenuous terrain. That means a four-hour hike requires at least two liters, plus extra for safety margin.
Start hydrating the day before your hike. Drink plenty of water the evening before and the morning of your adventure. Don’t wait until you’re on the trail to start.
Watch for dehydration warning signs: dark yellow urine, headache, dizziness, fatigue, and decreased urination. If you notice these symptoms, stop, rest in shade, and drink water immediately. Don’t push through—dehydration leads to poor judgment and dangerous decisions.
For longer hikes where you’ll need more water than you can carry, learn basic water purification. Bring a filter, purification tablets, or a UV sterilizer. Natural water sources can contain harmful bacteria and parasites, so always purify before drinking.
Fuel Your Body with Smart Snacks
Food is energy, and hiking burns through energy fast. Bonking—that sudden, overwhelming fatigue when your body runs out of fuel—can turn a fun hike into a miserable slog. Worse, it impairs your judgment and coordination.
Pack high-energy, easy-to-eat trail foods: nuts, dried fruit, energy bars, jerky, cheese, crackers, and chocolate. Aim for foods that combine carbohydrates for quick energy and protein and fats for sustained fuel.
Here’s the perfect eating strategy: don’t wait until you’re hungry. Eat small amounts every 45-60 minutes. A handful of trail mix here, an energy bar there. These frequent small snacks maintain steady energy levels better than waiting for a big lunch break.
Bring more food than your planned hike requires. If something goes wrong and you’re out longer than expected, those extra snacks become essential. Plus, having plenty of food means you won’t ration when you actually need fuel.
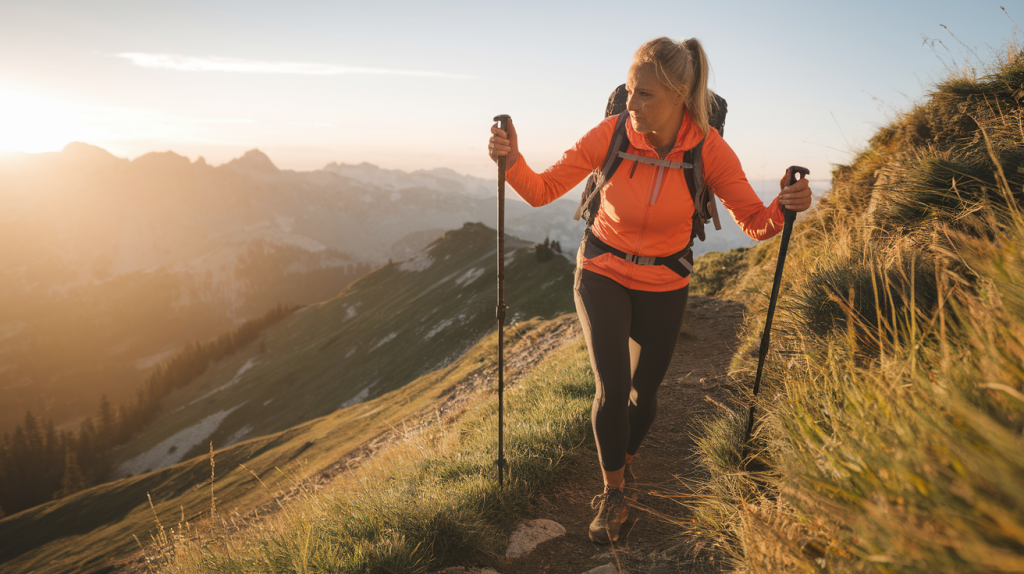
Listen to Your Body and Pace Yourself
Beginners make this mistake constantly: they start too fast. They’re excited, energized, and eager. Then they’re exhausted halfway through, with the hardest section still ahead.
Use the “talk test” to find your perfect pace. You should be able to carry on a conversation while hiking. If you’re gasping for breath, slow down. Hiking isn’t a race. The goal is to finish safely and enjoyably, not to set speed records.
Learn to recognize your body’s warning signals. Hot spots on your feet? Stop immediately and address them before they become blisters. Unusual pain in your knees or ankles? Slow down and adjust your technique. Feeling lightheaded or nauseous? Stop, rest, eat, and drink.
Know when to turn back. This is crucial. There’s absolutely no shame in deciding a trail is too challenging or conditions aren’t right. Every experienced hiker has turned around. The mountain will still be there next week. Your safety matters more than summiting.
Your Trail Safety Checklist Recap
You’ve just learned five essential safety strategies that transform you from a nervous beginner into a prepared, confident hiker. Let’s recap what makes the difference between a great hiking experience and a dangerous situation:
First, know your trail before you go. Research difficulty ratings, check current conditions, verify weather forecasts, and always tell someone your plans. This preparation takes 15 minutes and could save your life.
Second, pack the right gear and essentials. The 10 Essentials aren’t suggestions—they’re requirements. Even on short day hikes, bring navigation tools, sun protection, first aid, emergency shelter, fire starter, a knife, and extra food and water. Layer your clothing properly and wear appropriate footwear.
Third, stay on the trail and navigate safely. Use the stop-and-look-back technique, take photos at junctions, and pay constant attention to your surroundings. If you do get lost, remember STOP: Stop, Think, Observe, Plan.
Fourth, maintain your physical health and energy. Drink half a liter of water per hour, eat small snacks every 45-60 minutes, and pace yourself using the talk test. Listen to your body’s warning signals and know when to turn back.
These aren’t complicated wilderness survival tactics. They’re simple, proven practices that become second nature after a few hikes. And here’s what happens when you follow them: you feel confident instead of anxious. You notice the stunning views instead of worrying about what might go wrong. You finish your hike energized and eager for the next adventure.
Your Next Steps to Safe, Amazing Adventures
Start with easier trails and build your skills gradually. Choose well-marked, popular trails for your first several hikes. These paths typically have good signage, regular foot traffic, and cell phone coverage. As you gain experience and confidence, you can tackle more challenging terrain.
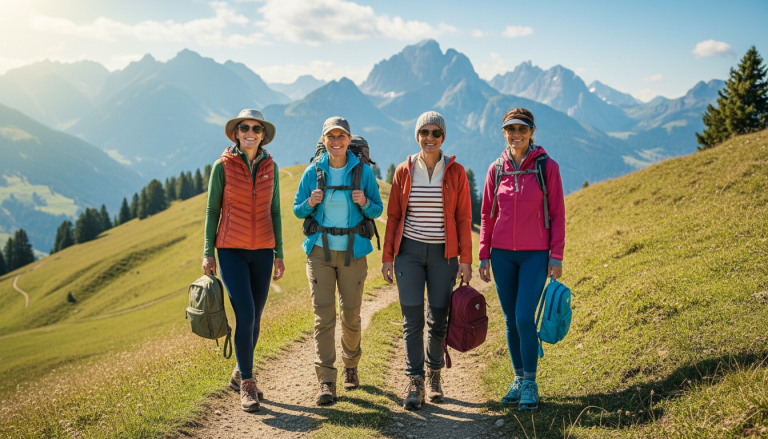
Consider joining local hiking groups or finding a mentor. Experienced hikers love sharing their knowledge with beginners. They’ll show you practical skills, introduce you to great trails, and provide the confidence boost that comes from hiking with knowledgeable companions. Check Meetup, local outdoor retailers, or hiking clubs in your area.
Invest in your education. Take a basic wilderness first aid course. Learn map and compass navigation. Practice using your gear before you need it in an emergency. These skills don’t just keep you safe—they make hiking more enjoyable because you feel competent and prepared.
Build your hiking fitness gradually. Start with shorter distances and less elevation gain. Your body needs time to adapt to the demands of hiking. Push too hard too fast, and you’ll end up injured or discouraged. Be patient with yourself.
You’re Ready to Hit the Trails
You’re now equipped with the essential knowledge every beginner hiker needs. You understand how to research trails, pack the right gear, navigate safely, and maintain your energy on the trail. You know what to do if something goes wrong.
Here’s the truth: preparation doesn’t make hiking less fun—it makes hiking more enjoyable. When you’re properly prepared, you relax and immerse yourself in the experience. You notice the way sunlight filters through the trees. You hear the birds and smell the pine. You feel accomplished when you reach that viewpoint.
Save this guide for reference before your next hike. Better yet, pin it so you can find it easily when you’re planning your adventures. Make these safety practices your standard routine, and they’ll become automatic.
Remember, every experienced hiker was once exactly where you are now—a beginner taking those first nervous steps on the trail. They learned these lessons, gained confidence through experience, and discovered that hiking is one of life’s most rewarding activities.
The trails are waiting for you. You’re prepared. You’re ready. Now go create some amazing memories—safely.
What trail will you tackle first? Start planning your adventure today, and don’t forget to share your itinerary with someone who cares about you. Happy (and safe) hiking!