7 Backpacking Food Ideas for No-Stress Meal Prep
You’re three miles into a gorgeous trail, your legs are burning, and your stomach is growling. You reach for your pack, dreading the complicated meal prep ahead… except there isn’t any. Your dinner is already portioned, labeled, and ready to go. That’s the magic of smart meal prep.
Here’s the truth: You don’t need expensive freeze-dried meals or a culinary degree to eat well on the trail. What you need are easy-to-prep meals that require minimal cooking skills, lightweight options that won’t turn your pack into a torture device, and budget-friendly alternatives that save your wallet for more gear.
This guide delivers exactly that—seven proven backpacking food ideas that eliminate meal stress completely. We’re talking make-ahead strategies that save time on the trail, nutrient-dense options that fuel your adventure, and simple techniques that work whether you’re planning your first overnight or your fiftieth summit attempt.
Let’s transform your backpacking meals from an afterthought into a highlight of your outdoor experience.
Why Meal Prep Matters for Backpacking Success
The Energy Connection
Your body becomes a calorie-burning machine on the trail. We’re not talking about your typical daily needs—backpackers require 2,500 to 4,500 calories per day depending on terrain, pack weight, and conditions. That’s roughly double what you’d eat at home.
Proper nutrition fuels your adventure and prevents bonking on those challenging climbs. Strategic meal planning helps maintain energy levels during long hiking days, keeping you alert, strong, and capable of handling whatever the wilderness throws at you. When you plan your meals thoughtfully, you’re essentially programming your body for success.
Poor meal planning can turn a scenic journey into a survival struggle. I’ve watched experienced hikers become irritable, exhausted, and even unsafe because they underestimated their calorie needs. Your brain needs fuel to make good decisions about navigation, weather changes, and camp setup. Don’t let inadequate nutrition compromise your adventure.
The Weight-to-Nutrition Ratio
Every ounce counts when you’re carrying your kitchen on your back. This isn’t about being obsessive—it’s about being smart. The difference between a 35-pound pack and a 45-pound pack changes your entire experience, affecting your knees, your endurance, and your enjoyment.
Identifying high-calorie, low-weight foods delivers maximum energy without the burden. Dehydrated and shelf-stable foods become your best friends because they pack serious nutritional punch in minimal space. A bag of instant mashed potatoes weighs almost nothing but provides 600+ calories. That’s efficiency.
Here’s a beginner-friendly formula that works: aim for 100-125 calories per ounce. This ratio ensures you’re carrying enough food without overloading your pack. Nuts hit about 160-180 calories per ounce. Olive oil reaches 240. Compare that to fresh apples at roughly 15 calories per ounce, and you’ll understand why backpackers choose differently than day hikers.
The Convenience Factor
Less meal prep time means more time to explore and enjoy nature. You didn’t drive hours to a trailhead just to spend your evening fumbling with complicated recipes. Pre-packaging meals eliminates decision fatigue after exhausting trail days when your brain is too tired to figure out what goes with what.
Organized food systems prevent the dreaded “pack explosion”—that moment when your entire bag becomes a chaotic mess of loose ingredients, torn packages, and mystery crumbs. When everything is portioned and labeled, you grab what you need and keep moving.
Building confidence through preparation is especially essential for first-timers. Knowing your meals are handled removes one major variable from an already unfamiliar experience. You can focus on navigation, shelter setup, and enjoying the journey instead of stressing about dinner.
The 7 Ultimate No-Stress Backpacking Food Ideas
1. DIY Instant Meal-in-a-Bag
This is the ultimate backpacking hack—complete meals that require nothing more than boiling water and patience. Combine instant rice or couscous with dehydrated vegetables and your choice of protein like jerky pieces or protein powder. The beauty lies in the simplicity.
Add flavor packets, dried herbs, or bouillon cubes for taste. A single chicken bouillon cube transforms plain rice into something you’ll actually crave after a long day. Toss in some dried mushrooms, freeze-dried peas, and garlic powder, and you’ve created a restaurant-quality meal.
The preparation is foolproof: add boiling water directly to the bag, seal it tight, wait 10 minutes while it rehydrates, and eat straight from the bag. No pot to clean, no dishes to wash, no mess to deal with. Your spork is the only utensil you need.
Pro tip: Test recipes at home first to perfect your ratios. Not all instant rice rehydrates at the same rate, and you don’t want to discover your meal is crunchy when you’re miles from civilization.
2. Energy-Packed Trail Mix Creations
Trail mix is the classic backpacking food for good reason—it’s portable, doesn’t require refrigeration, and delivers sustained energy through a perfect balance of fats, proteins, and carbohydrates. Mix nuts like almonds and cashews with dried fruit, dark chocolate chips, and coconut flakes for a combination that satisfies both hunger and cravings.
Add unexpected ingredients to keep things interesting: wasabi peas provide a spicy kick, pretzels add satisfying crunch, and crystallized ginger settles upset stomachs while delivering flavor. The variety prevents “trail mix fatigue” that happens when you eat the same blend day after day.
Portion your mix into daily snack bags for easy access during hiking. Having grab-and-go portions means you’ll actually eat consistently throughout the day instead of waiting until you’re depleted. Consistent snacking maintains energy levels better than three large meals.
Pro tip: Create savory versions with cheese crackers, pepperoni pieces, and roasted chickpeas. Not everyone wants sweet snacks all day, and savory options provide welcome variety.
3. No-Cook Tortilla Wraps
Tortillas are the unsung heroes of backpacking food. They’re durable, don’t crush like bread, and handle temperature fluctuations without turning into a soggy mess. Pack tortillas with nut butter, honey, and dried fruit for quick energy-dense meals that require zero preparation.
For savory options, try pre-cooked bacon (the shelf-stable kind), hard cheese, and summer sausage. Roll everything together and you’ve got a satisfying lunch that doesn’t require stopping to set up your stove. This matters when you’re trying to cover miles or when weather conditions make cooking impractical.
The versatility is remarkable—breakfast burritos with peanut butter and granola, lunch wraps with hummus and jerky, dinner wraps with instant refried beans. Your tortillas adapt to whatever ingredients you’re craving.
Pro tip: Tortillas double as plates, reducing gear weight. Spread your dinner on a tortilla, fold it up, and you’ve eliminated the need for a separate dish.
4. Overnight Oats in a Jar
Overnight oats revolutionize backpacking breakfasts by eliminating morning cooking entirely. Combine rolled oats, powdered milk, chia seeds, and dried fruit in a leak-proof container before bed. Add cold water, seal it up, and wake up to ready-to-eat breakfast that requires absolutely zero effort.
The cold-soak method works because oats soften overnight without heat. Chia seeds add protein and create a pudding-like texture that’s genuinely satisfying. This approach saves fuel, saves time, and lets you break camp faster in the morning.
Boost your oats with protein powder for extra calories, nuts for healthy fats, or honey for natural sweetness. The customization options are endless, and you can adjust the recipe based on whether you’re facing an easy day or a challenging climb.
Pro tip: Use a leak-proof jar that doubles as your bowl. One less item to carry means more room for essentials.
5. Instant Mashed Potatoes Upgraded
Instant potato flakes are incredibly lightweight, calorie-dense, and versatile—basically the perfect backpacking staple. A single pouch weighs almost nothing but provides substantial calories and that comforting, stick-to-your-ribs satisfaction you crave after a hard day.
Elevate basic potatoes with bacon bits, cheese powder, dried chives, or olive oil packets. These simple additions transform bland instant potatoes into legitimate meals you’ll look forward to. The fat from olive oil or cheese significantly increases calorie content, which matters when you’re burning through energy.
Add protein by mixing in summer sausage pieces, tuna packets, or dried vegetables. Suddenly your side dish becomes a complete meal. The texture and warmth of mashed potatoes provide psychological comfort that cold foods simply can’t match.
Pro tip: Use mashed potatoes as a side or main dish—they’re versatile and beginner-friendly. They pair well with everything from jerky to dehydrated vegetables to canned chicken.
6. Pre-Made Energy Bars and Cookies
Baking your own energy bars before your trip gives you complete control over ingredients, flavors, and nutrition. Combine oats, nuts, seeds, dried fruit, and honey, then bake them into bars that hold together well in your pack. You know exactly what’s in them, which matters for dietary restrictions and preferences.
The homemade approach typically costs less than commercial energy bars, especially when you’re feeding a multi-day trip. A batch of 24 bars might cost $10 in ingredients versus $3-4 per commercial bar. The savings add up quickly.
Pack individually wrapped bars for easy rationing and snacking throughout the day. Having portion-controlled snacks prevents the temptation to eat everything at once (we’ve all been there) and ensures your food lasts the entire trip.
Pro tip: Make double batches and freeze extras for your next adventure. Having a stash of ready-made trail food eliminates one entire prep step for future trips.
7. Ramen Reinvented
Instant ramen gets a bad reputation, but it’s actually an excellent backpacking base when you upgrade it properly. Start with quality instant ramen or rice noodles—the foundation matters. Look for brands with actual flavor complexity, not just salt packets.
Add freeze-dried vegetables, egg powder, hot sauce packets, and sesame oil to transform basic noodles into legitimate meals. The vegetables add nutrition and texture, egg powder boosts protein significantly, and sesame oil provides healthy fats that increase satiety.
Include additional protein through dried tofu, jerky pieces, or even peanut butter stirred directly into the broth. Yes, peanut butter in ramen sounds weird, but it creates a rich, Thai-inspired sauce that’s genuinely delicious and adds serious calories.
Pro tip: Crush noodles before packing to save space and speed cooking time. Broken noodles rehydrate faster and fit more efficiently in your pot or bag.
Essential Meal Prep Tips and Strategies
The Week-Before System
Create a meal plan spreadsheet listing every breakfast, lunch, dinner, and snack for your entire trip. This systematic approach eliminates guesswork and ensures you pack exactly what you need—nothing more, nothing less. Include columns for meal type, ingredients, calories, and weight.
Shop once with a comprehensive list to avoid last-minute grocery store panic. There’s nothing worse than realizing the night before your trip that you’re missing critical ingredients. One focused shopping trip handles everything efficiently.
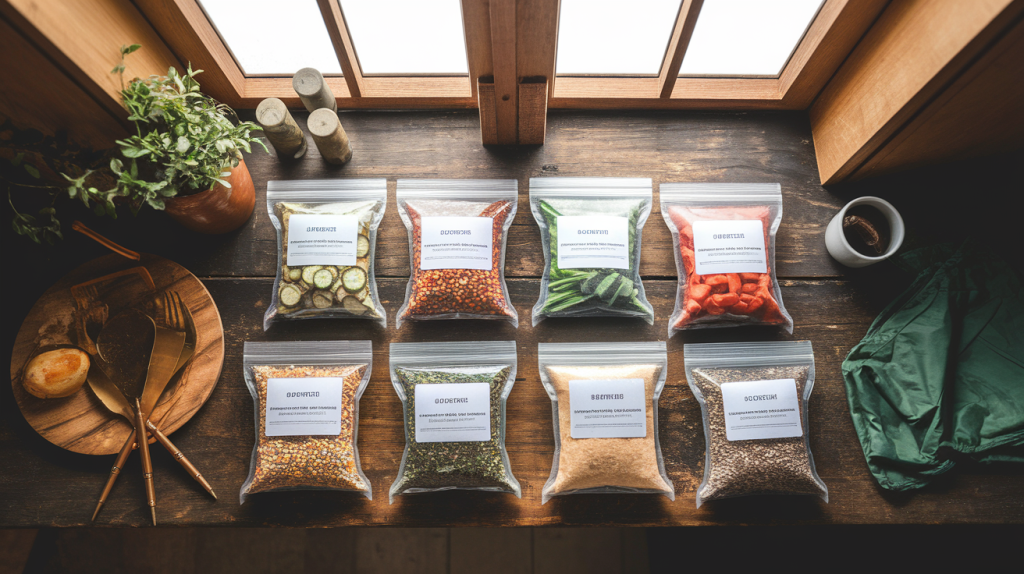
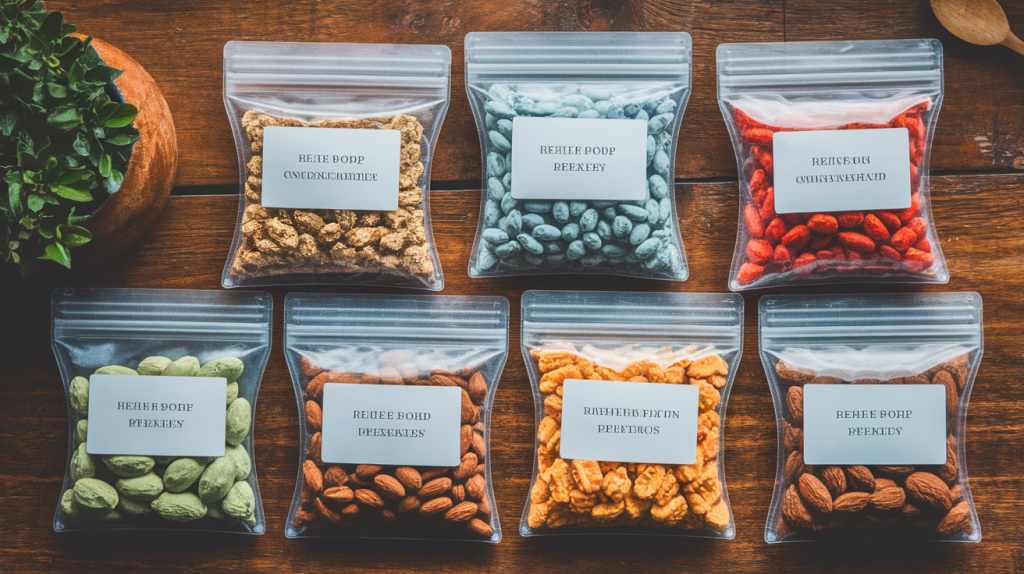
Dedicate one afternoon to assembling and labeling all meals. Put on music, spread out your supplies, and systematically portion everything into bags. Label each bag with contents, preparation instructions, and which day or meal it’s for. This assembly-line approach actually becomes enjoyable.
Bonus: This system works whether you’re planning a weekend trip or week-long expedition. The process scales perfectly, and you’ll get faster with practice.
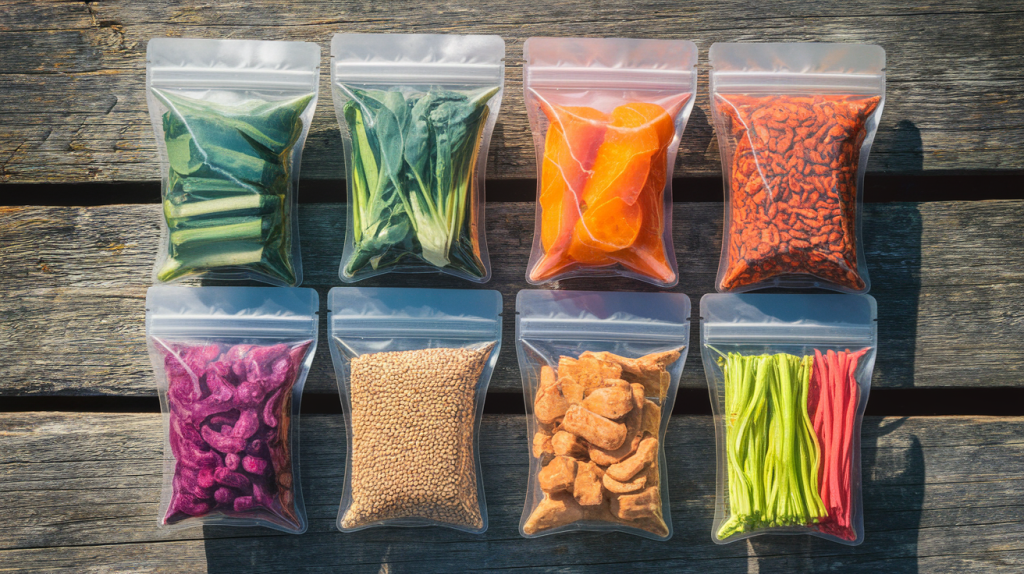
Packaging Like a Pro
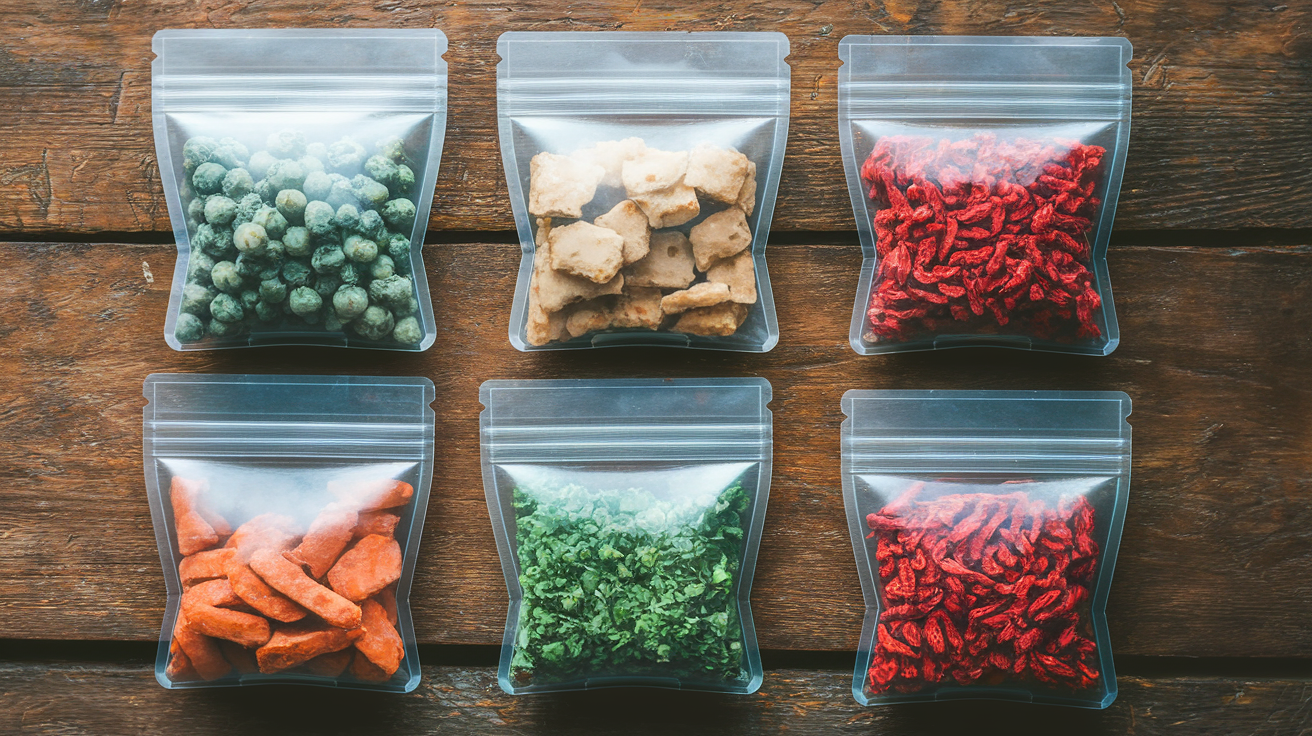
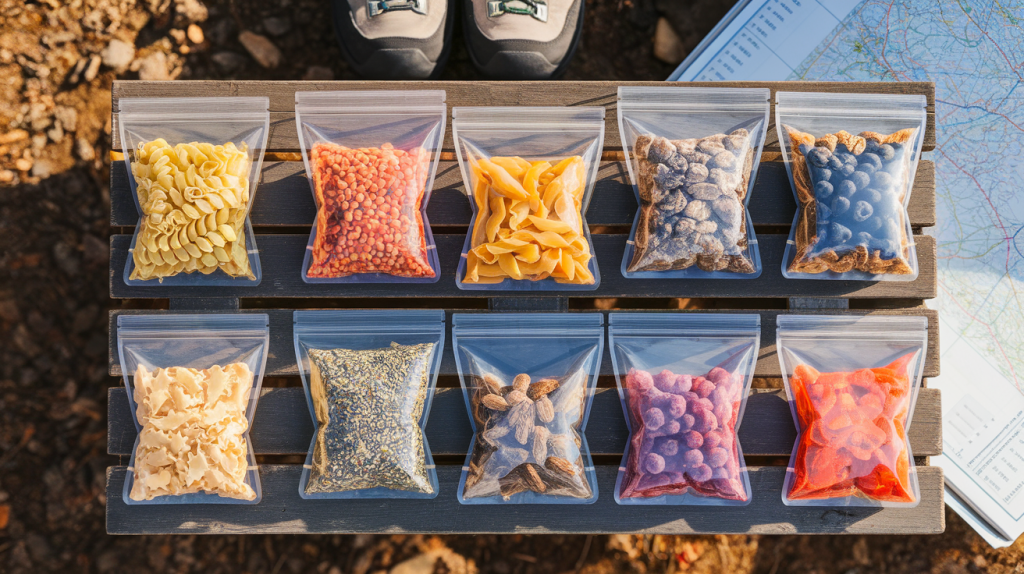
Use freezer-weight ziplock bags for durability—regular bags tear too easily under pack pressure and temperature changes. Double-bag anything with liquid or oil to prevent the catastrophic leak that ruins everything in your pack. Trust me on this one.
Label everything clearly with permanent marker. Include contents, preparation instructions (like “add 1 cup boiling water, wait 10 minutes”), and which day or meal it represents. When you’re exhausted and hungry, clear labels prevent mistakes.
Remove excess packaging to minimize trash and weight. Transfer items from bulky boxes into bags, cut off unnecessary cardboard, and consolidate where possible. Every ounce you eliminate at home is an ounce you don’t carry uphill.
Organize meals by day in stuff sacks or larger bags for easy access. Day 1 meals go in one bag, Day 2 in another. This organization prevents digging through your entire food supply every time you want a snack.
Food Safety in the Wild
Understand which foods are truly shelf-stable and which require refrigeration. Hard cheeses like parmesan and aged cheddar last several days without refrigeration. Cured meats like salami and summer sausage are designed for room temperature. Nut butters remain safe indefinitely.
Keep perishables for day one only, then transition to dried foods afterward. Enjoy that fresh sandwich or wrap on your first day, but don’t risk foodborne illness by carrying questionable items longer.
Practice proper food storage according to regulations in your area. Bear canisters are required in many popular wilderness areas, and bear bags work where canisters aren’t mandated. Proper storage protects both you and wildlife.
Know the signs of spoilage—unusual smells, discoloration, or unexpected texture changes. When in doubt, throw it out. No meal is worth getting sick miles from help.
Testing Before You Trek
Never try new foods for the first time on the trail. Your digestive system might react poorly to unfamiliar ingredients, and discovering this in the wilderness creates genuine misery. Test everything at home first.
Cook test batches to check flavor, portions, and preparation time. Does your instant rice actually rehydrate in 10 minutes, or does it need 15? Is one cup of water enough, or do you need more? These details matter when you’re tired and hungry.
Discover any food sensitivities in the comfort of your kitchen, not on a mountain. Some people react poorly to dehydrated foods, high sodium content, or specific ingredients. Better to learn this at home.
Adjust recipes based on personal preferences and calorie needs. If you need more calories, add nuts or oil. If something tastes bland, increase seasonings. Make your meals work for your body and tastes.
Budget-Friendly Grocery Store Hacks
Skip the Specialty Store
Regular grocery stores stock everything you need for backpacking meals. You don’t need specialty outdoor retailers charging premium prices for the same ingredients. Walk through your local supermarket with fresh eyes and you’ll spot countless backpacking options.
Compare costs honestly: $10-15 per freeze-dried meal versus $2-4 for DIY grocery store versions. Over a week-long trip, this difference adds up to $100+ in savings. That’s money better spent on gear or your next adventure.
Discover the international aisle where instant noodles, rice packets, and unique seasonings offer incredible variety at low prices. Asian markets are particularly valuable for finding interesting instant meals, dried mushrooms, and seasoning packets.
Bulk bins offer affordable nuts, dried fruit, and grains in exact quantities needed. Buy precisely what your trip requires instead of purchasing pre-packaged amounts that leave you with excess or shortage.
Smart Substitutions
Instant rice works identically to expensive dehydrated meals—same convenience, fraction of the cost. Those $12 freeze-dried dinners? They’re usually just instant rice with dehydrated vegetables and seasonings you can add yourself.
Powdered milk and eggs replace fresh versions perfectly in backpacking contexts. They’re lightweight, shelf-stable, and rehydrate easily. A container of powdered eggs costs less than a carton of fresh eggs and doesn’t require refrigeration.
Store-brand instant oatmeal delivers the same nutrition as specialty backpacking breakfast at half the price. The only difference is packaging and marketing. Your body can’t tell the difference between brands at 6am on a mountain.
Regular jerky works just as well as expensive “backpacking” protein. Check the regular snack aisle instead of the outdoor section and save $5-8 per bag. It’s the same product with different packaging.
Buy in Bulk for Multiple Trips
Invest in large quantities of staples you’ll use repeatedly: oats, instant rice, pasta, dried beans. These ingredients form the foundation of countless backpacking meals and store well for months or even years.
Portion bulk purchases into trip-sized amounts and store in airtight containers. Create a backpacking pantry in your home that’s ready whenever adventure calls. Having ingredients pre-stocked eliminates one entire prep step.
Build a system where you’re always prepared for spontaneous trips. When friends invite you for a weekend adventure, you can pack food in an hour instead of scrambling to shop and prep.
Calculate cost per trip to see how bulk buying pays off. After just 2-3 outings, you’ve recouped your initial investment and everything after that is pure savings. The economics strongly favor this approach.
Fuel Your Adventure with Confidence
Smart meal prep transforms backpacking from a survival exercise into a genuine adventure. When your food is handled, you can focus on what really matters—those sunrise views, the satisfaction of reaching summit, and the peace of falling asleep under stars.
Start simple with this practical approach: Choose 2-3 ideas from this list for your first trip and build from there. Maybe try overnight oats for breakfast, tortilla wraps for lunch, and one instant meal-in-a-bag for dinner. Master these basics, then expand your repertoire on future trips.
The truth is that prep at home means more time to discover breathtaking views and connect with nature on the trail. Every minute you spend organizing meals before your trip buys you multiple minutes of freedom in the wilderness. That’s a trade worth making.
Budget-friendly grocery store ingredients work just as well as expensive specialty products—sometimes better, because you control exactly what goes into your meals. You’re not paying for marketing or fancy packaging. You’re investing in fuel for your body and your adventure.
Testing and organizing meals before you go builds confidence for wilderness cooking. You’ll approach the trail knowing you can handle the food aspect completely, which reduces anxiety and increases enjoyment.
Your next backpacking trip deserves better than stress, hunger, and expensive freeze-dried disappointment. Pack these seven no-stress food ideas, hit the trail, and discover how good eating can be when you’re surrounded by wilderness. The mountains are waiting—and now you know exactly what to bring.
Ready to prep your next adventure? Start with one recipe this weekend. Test it at home, adjust to your preferences, and add it to your backpacking rotation. Your future trail-self will thank you.